Showing posts with label Lawn Fawnatics Challenge. Show all posts

March 17, 2022

Lawn Fawnatics #120 - All Things Birthday

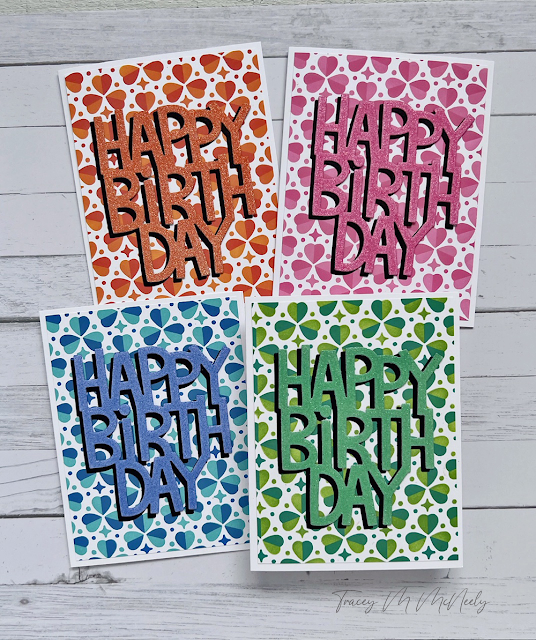
 Hi there, thanks for stopping by. Today I have four cards for the current Lawn Fawnatics Challenge #120!

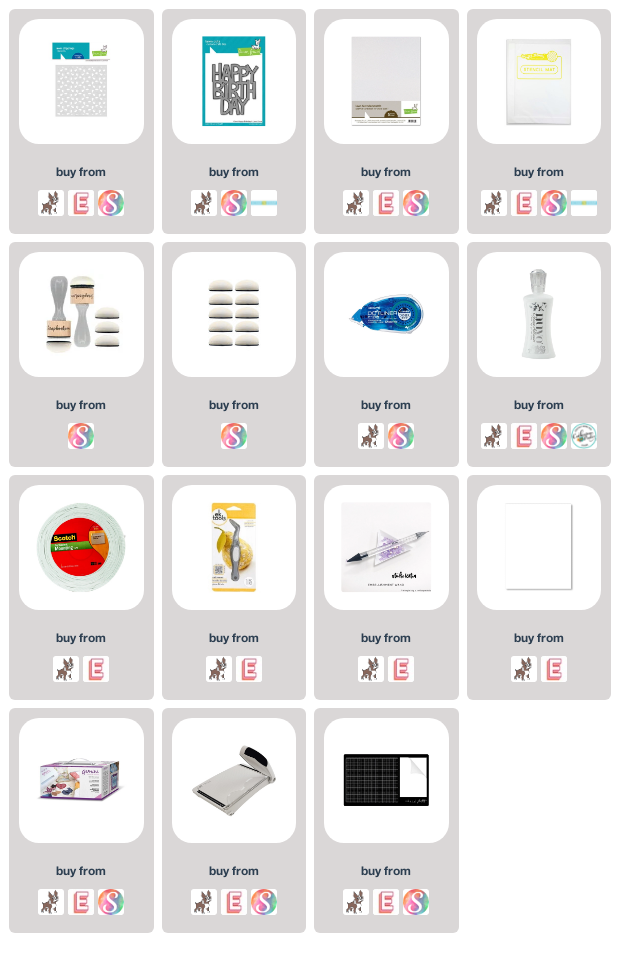
I used the new Lawn Fawn Clover stencil to make four birthday cards in four different colours each with  custom coloured sentiments. I used Distress Oxide inks for all my cards:

Orange: Spiced Marmalade/Crackling Campfire
Pink: Kitsch Flamingo/Pink Raspberry
Blue: Salvaged Patina/Blueprint Sketch
Green: Mowed Lawn/Lucky Clover

I used the Lawn Fawn Giant Happy Birthday die cut for all four cards. I cut each from Pixie Dust cardstock which I ink blended with the darkest colour from each colour pair. I cut a second from black cardstock to create a shadow which I think, makes the Happy Birthday die cut pop off the background.


I missed submitting the green version to SSS Wednesday Challenge Bit O`Green!


Have a great day!


November 5, 2021

Lawn Fawnatics Challenge #112


Happy Friday friends!

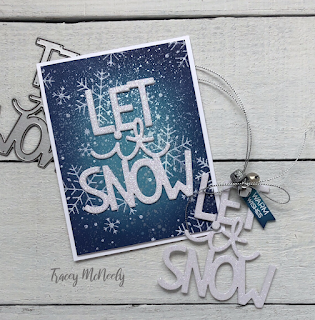
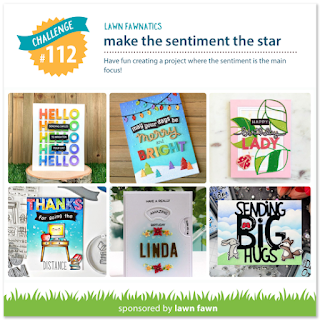
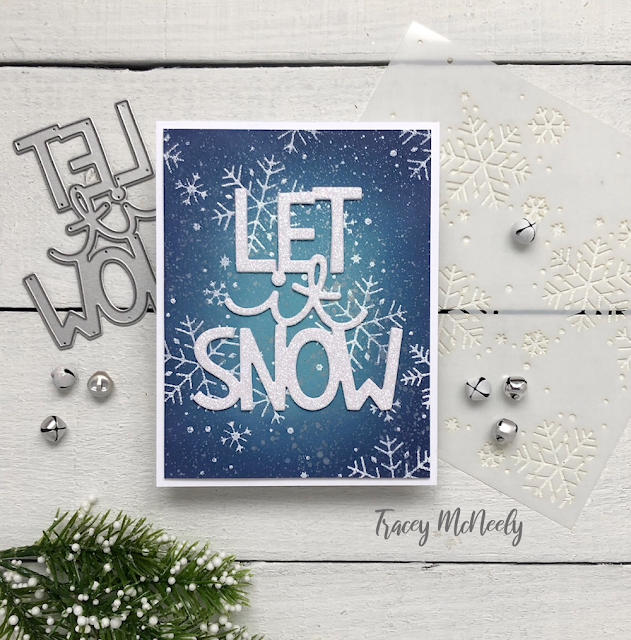
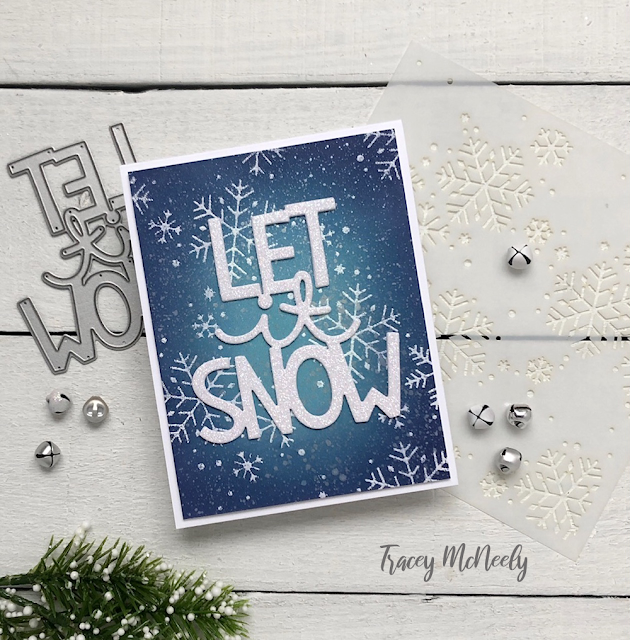
I have been busy working on lots of holiday crafty projects, but right now most the most important are Christmas/holiday cards. When I saw the new Lawn Fawnatics Challenge was Make the Sentiment the Star I knew I wanted to use the new Lawn Fawn Giant Let It Snow die.


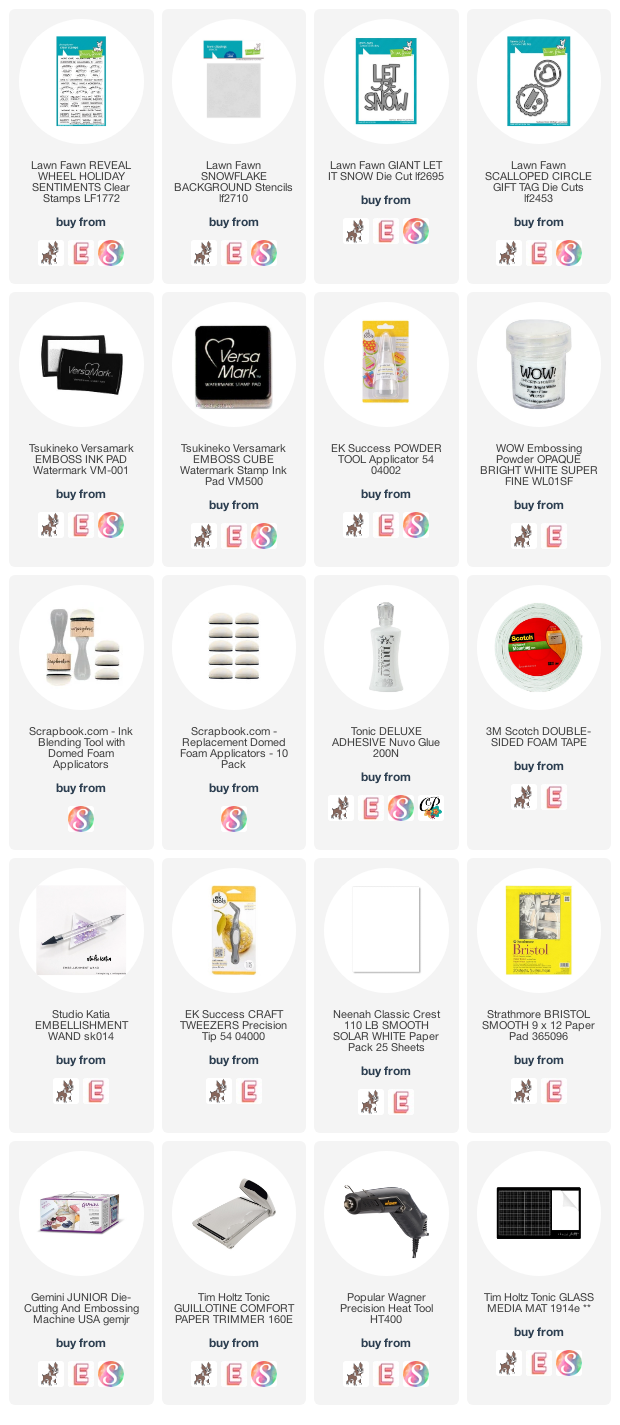
I created an embossed background using one layer from the Lawn Fawn Snowflakes stencil and an watermark ink pad. I lay the stencil over a 5 1/2" x 4 1/4"" panel of Bristol Smooth cardstock where I wanted my snowflakes to be. I flipped it over and taped the stencil to the back of the panel. Then I flipped it back so that the stencil is on top. It's not necessary to do it this way, this is just the way I prefer to do it.

I prepped the panel well before embossing  using an embossing buddy. Then I pressed the watermark ink pad right onto the stencil until I covered my whole panel. I carefully removed the stencil, because it is a bit juicy, and I was left with the snowflake images from the stencil embossed with watermark ink. I sprinkled the panel with white embossing powder leaving me with a panel I could ink blend. I used Distress Oxide inks--Salvaged Patina, Peacock Feathers and Chipped Sapphire. The panel was trimmed down to 5 1/4" x 4".

I cut the Lawn Fawn Let It Snow die 4 times from white heavyweight cardstock and once from Lawn Fawn Pixie Dust cardstock. I glued all the layers together and added it to the snowflake panel with liquid glue. I added the panel to a white top folding card base with foam tape.


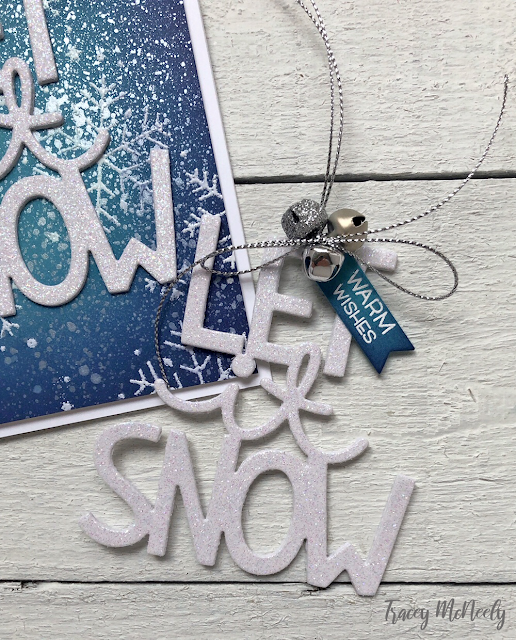
Now you know I couldn't have a card with a tag!


I made the sentiment that same way--4 layers of white heavyweight cardstock and a Pixie Dust layer on top! The tag was cut using the Lawn Fawn Scalloped Gift Tag. I tied a cluster of silver bells--mat, shiny and sparkly with silver metallic cord.

Thanks so much for stopping in today, have a fabulous weekend!


August 16, 2019

Lawn Fawnatics Challenge #58 - Interactive

When I saw that Lawn Fanatics Challenge #58 was Interactive Cards I knew I wanted to make another card with the Magic Picture Changer die! 

tracey_LawnFanatics#58-both

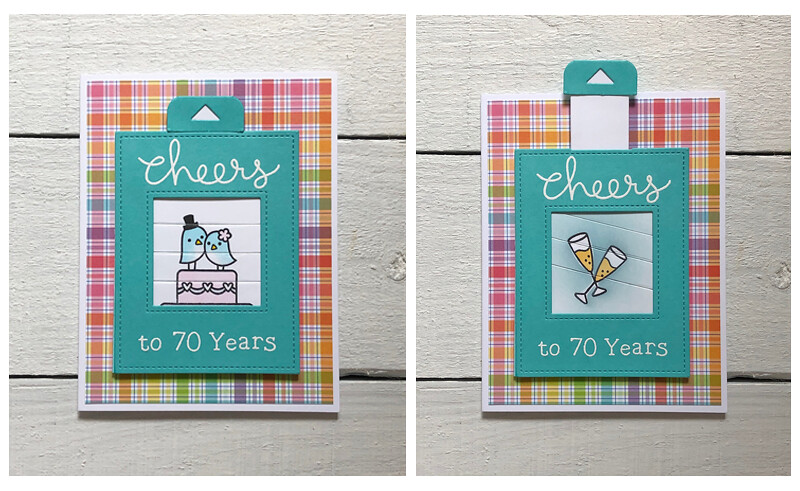
This Sunday my parents will be celebrating their 70th wedding anniversary! Something no many people are fortunate to celebrate. My mom is particularly fond of sweet images on cards and the Lawn Fawn Happy Wedding stamp set is loaded with them. 

This card is ready to go with me on Sunday when the whole family is getting together to celebrate my parents for reaching this milestone.  This Sunday, August 18th, happens to be my wedding anniversary! My hubby and I are celebrating our 29th!  This is the card I made for my parents!


tracey_LawnFanatics#58

tracey_LawnFanatics#58-b


For my interactive card I stamped and coloured the tweet couple from Happy Wedding on to the top of the wedding card in the front magic slider frame. For the image my Magic Picture Changer was going to reveal I stamped two champagne glasses also from the Happy Wedding stamp set. After I stamped them I felt I needed some more colour so I created two masks for the champagne glasses on full back Post-it notes. I covered the images and ink blended some Tumbled Glass Distress Oxide ink around them. I cut the two pieces of the picture changer and assembled the mechanism with my teflon bone folder and double sided tape. To learn how to assemble the magic picture changer check out this VIDEO. 

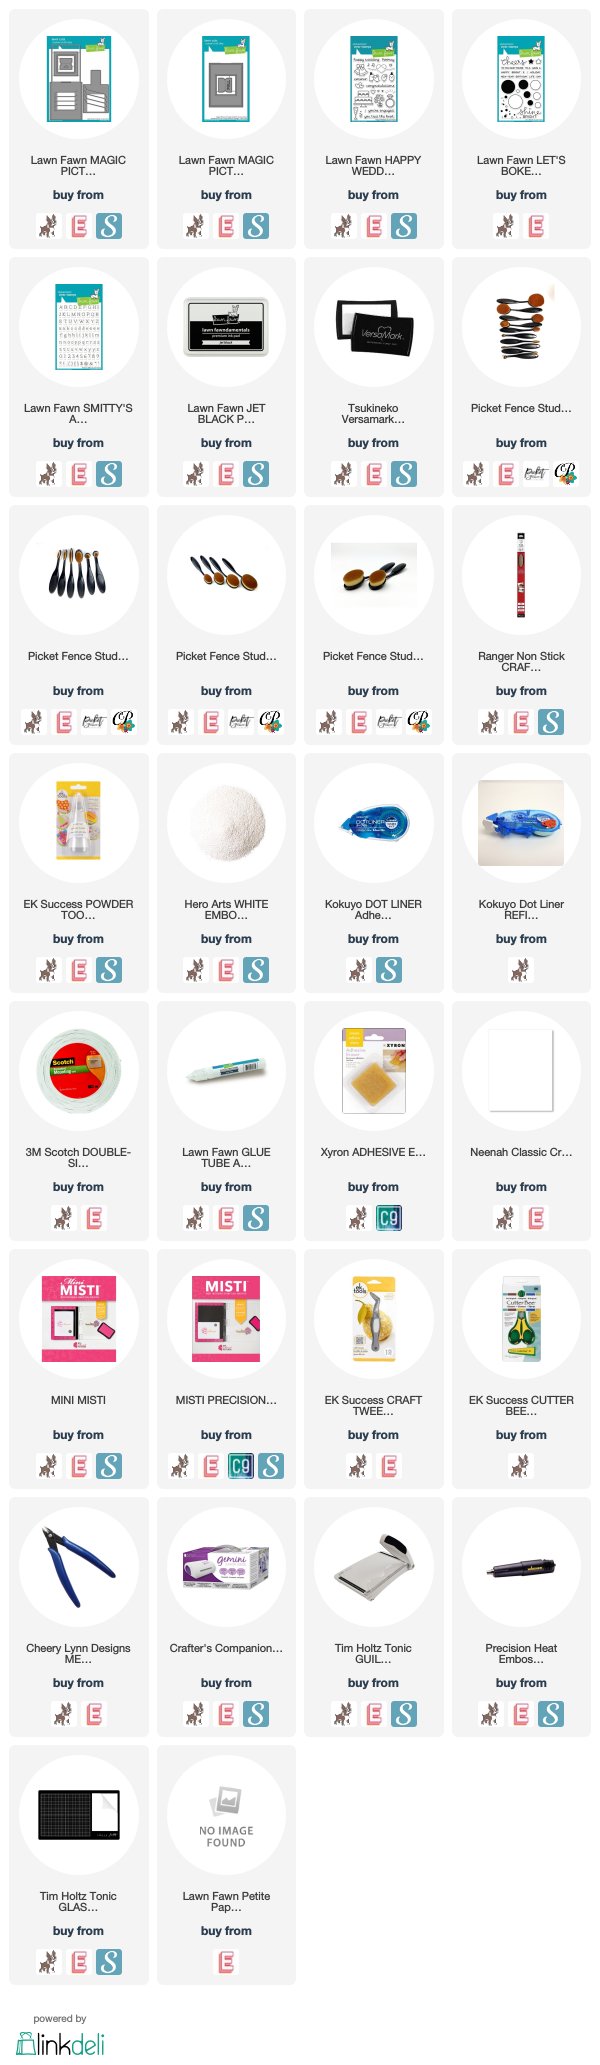
I cut the frame from the magic picture changer add on using Peacock cardstock. Then the sentiment was put together with the word 'cheers' from Let's Bokeh and then I built the remaining of the sentiment using Smitty's ABC's alphabet stamp set--both were white embossed. The frame was adhered with foam tape to my card base that was matted with paper from the Perfectly Plaid Rainbow 6" x 6" paper pack (retired).


If you haven't tried the Magic Picture Changer die yet you really should. I have made quite a few of these now and i can almost do it without a refresher from the video now--lol. 

Enjoy the rest of your weekend!


May 15, 2019

Lawn Fawnatics Challenge #52

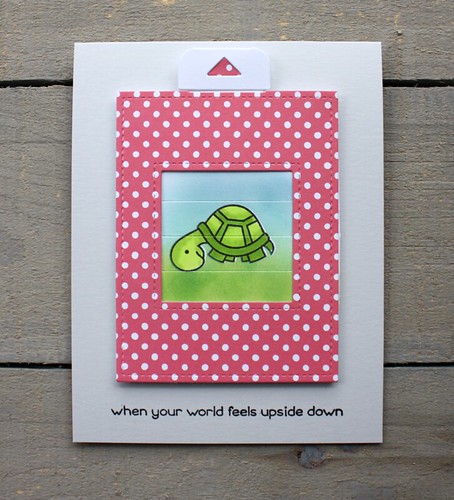
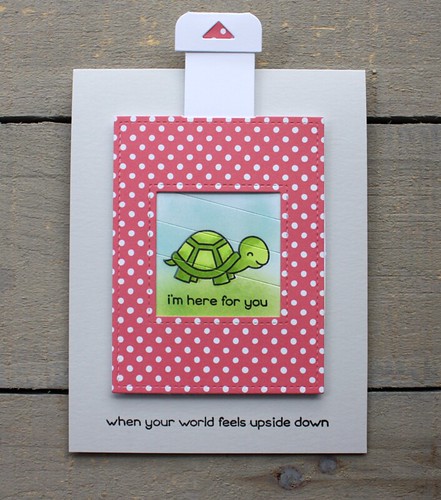
Hi there, I'm excited to share a card I made for Lawn Fawnatics Challenge #52 using the new Lawn Fawn Magic Picture Changer. I was a bit nervous to give this die a try but actually it wasn't as hard as I thought it would be. Definitely makes me smile every time I pull the tab!

The challenge is to show some love for beloved pets, well turtles can be pets too especially if they are cute as this little guy.


tracey_LF#52


tracey_LF#52-b