July 16, 2024

Color Hues #91

 Hi there crafty friurends! We  have a new color duo at the Color Hues Color Challenge #91. Our colors this round pf Red and Green were chosen by Teammate Sheri for Christmas in July!

Although Christmas is the last thing on my mind, because we just had it...right? However, I seized the moment and created a card using my Concord & 9th Boughs & Holly  Stencils and sentiment die from the coordinating die set. I don't think I'll ever tire of this stencil.


The leaves and berries were stenciled with green Catherine Pooler inks and Concord & 9th's Poppy ink and cardstock! I cut the panel with the largest Lawn Fawn Outside In Stiched rectangle and added it to my card base with foam tape.


The sentiment was die cut from Poppy and Gold Sparkle cardstock. I also cut a slightly smaller white circle that I glued with liquid adhesive to the back of the red circle. Then I inlay the gold words back into the circle that was popped up with foam dots!


If you haven't been there already please head over to the Color Hues Blog to see what the rest of my amazing teammates have created!.

Thanks for stopping in and have a great day!


July 1, 2024

Color Hues #90

Hi there crafty friends! Today we start a new colour duo at the Color Hues Color Challenge #89! Our fearless leader Nancy Leppeck chose the challenge colours of White &  Aqua--so much fun!


 I had a plan in my head and when it came time to execute it I struggled with my water. Then the idea of bokeh popped into my head! I blended a panel of Concord & 9th Powder cardstock with Tumbled Glass and Salty Ocean Distress Oxide Inks. 

I have three homemade masks for doing bokeh. Three cardstock pieces each one with a different size circle cut from the centre. I use these along with white pigment ink when I want to add bokeh to my design. Handy and always fun but if using Dox inks, make sure the panel is completely dry before adding pigment!

The seagulls are Waflle Flower Crafts Inquisitive Seagulls and the umbrella from the Waffle Flower Crafts Beach Umbrella Die-n-stencil. 

The sentiment is from Lawn Fawn`s Henry`s Build a Sentiment: Spring. I find I this set really useful!

I'm submitting this to Seize the Birthday Anything Goes!


I'm also submitting this is Just Us Girls Challenge #733.


Thank you so much for stopping in today!


June 29, 2024

First Attempt Waffle Flower Postage Collage

 Happy weekend! Today I'm sharing my first attempt at using the Waffle Flower Crafts Postage Collage die and Beach Days Stencils. There are three stencils in the set and for my first run I used the stencils as they were intended. I used all Catherine Pooler Inks.

Next time I'll be a bit more adventurous and try something new.
These are really fun to use!


The background in from the Waffle Flower Crafts Coloring Stencil. I have seen some done in non traditional postal colours that are really amazing!


The Happy Birthday Sentiment is from the Penguin Palace's Enchanting Paris. I love that the "i" in birthdy in a small letter!


I'm submitting this to Seize the Birthday Anything Goes!


I'm also submitting this is Just Us Girls Challenge #733.


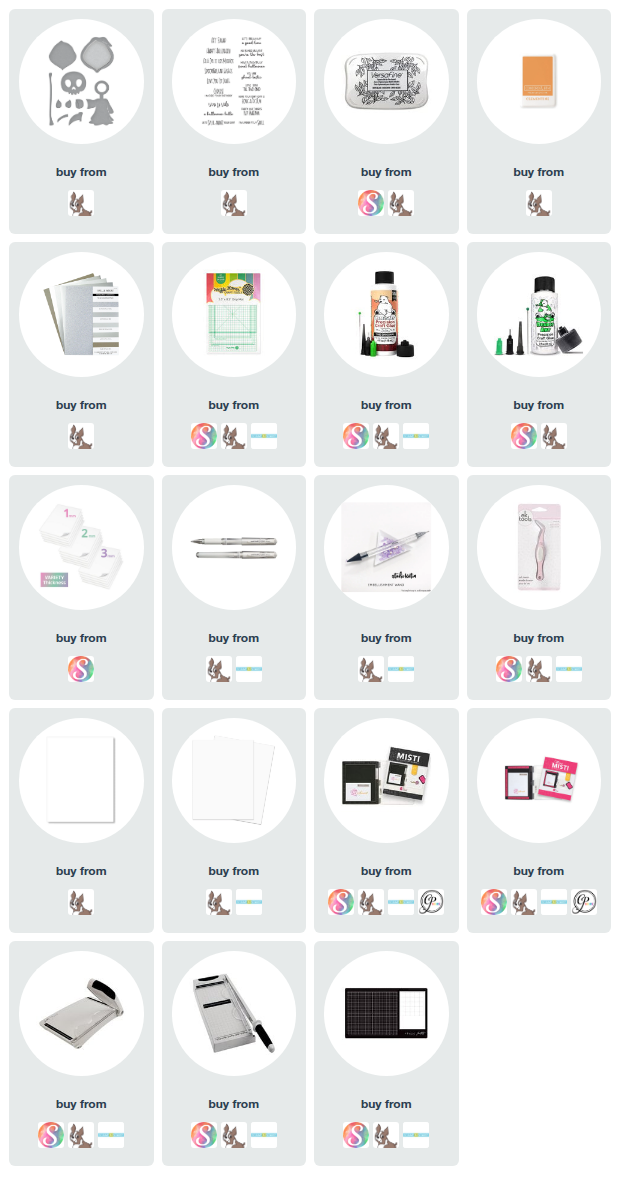
All products I used are listed below.

Thanks for stopping in today and have a wonderful weekend!


June 16, 2024

Color Hues #89

Hi there crafty friends! Today we start a new colour duo at the Color Hues Color Challenge #89! Teammate Marcia Hill chose the challenge colours of Sage & Pink!


Today's card uses the new PinkFresh Amazing Things stamps, dies and stencils!
I stamped the beautiful image and then used the stencils to shade the leaves in sage & pink Distress Oxide inks--Bundled Sage, Rustic Wilderness, Spun Sugar, Kitsch Flamingo and Picked Raspberry. It is such a beautiful set to work with and the stencils line up so easily for perfect placement!


I cut a panel with largest of the rectangular Nordic Frames by The Greetery. It was attached with foam tape. The flower was attached with an assortment of foam squares and foam circles behind the leaves.


The sentiment is from the same stamp set. I die cut the sentiment with the corresponding die and I also cut two more that were glued together with the stamped Thinking of You on top. It was attached to the nordic frame with liquid glue.


I added a few sparkling clear gems for a little sparkle.


Thank so much for stopping in today, I hope you make a trip over to the Colour Hues blog, my teammates have once again made the most fabulous cards. 

I can't wait to see what you do!

June 15, 2024

CCCC #30 - June Guest Design


 Good morning! I'm back posting again today with my second card as the June Guest Designer at the Caffeinated Christmas Card Challenge

Got right into Christmas mode when I was creating for today I have three cards for you. For my first card I started off by creating my own patterned paper using Concord & 9th's Ornaments Turnabout stamp. I stamped it in Concord & 9th inks--Poppy, Clover, Stardust and Aqua Sky!

The cup is also from Concord & 9th's Cup of Kindness Stamps and dies. It was cut from Poppy cardstock and the heat embossed sentiments are from the Ornaments stamp set.


Both the patterned paper panel and the coffee cup were attached with foam tape.


The second card was created using Tim Holtz Sizzix Big Tidings die set. I cut the shadow with Poppy and gold sparkle cardstock. The background panel is Evergreen cardstock.


 The holly is one of the icons of the die set.


The small coffee cup is from Concord & 9th's Cup of Kindness Stamps and dies once again. The green panel and coffee cup were attached with foam tape!


When you have a die that cut two layers you always end up with a two-fer. 


My two-few is a very CAS card with the gold sparkle Joy that was created when I made card two. 


The small coffee cup was stamped, embossed and cut one more time with the Cup of Kindness Stamps and dies once again. The star was an icon from the Tim Holtz Sizzix Big Tidings die set.


Remember for the month of June Brass and Bliss is the sponsor.

You still have time to play along and I hope to see you join us!

Thank so much for stopping in and a big thank you to the Caffeinated Christmas Card Challenge for having me as the June Guest Designer, it was fun!


June 7, 2024

Scrap'n Stamp Manly Masterpieces Inspiration Hop

Welcome to the Manly Masterpieces Inspiration Hop for Scrap 'N Stamp Canada!
You should have arrived here from Tara's blog if you are following the hop!

Comment here on my blog, and all the stops on the hop, for your chance to win a $50 Gift Certificate for Scrap'n Stamp Canada!

I used the Tim Holtz Sizzix Celebrate die set for the hats and streamers on my card. This set has sooo many pieces but it is an amazing staple to have for making birthday cards and projects. I cut the three hat pieces using three shades of grey cardstock. 


By cutting each version of the hat in three shades of grey allowed me to mix and match to make three distinct hats. I cut the pom pom piece and streamers using mirror cardstock, black cardstock and a Charcoal grey Sizzix glitter opulent cardstock.


The sentiment is from Colorado Craft Company's Birthday Wishings! I cut he panel down to 5" x 3 3/4" and adhered it to the card base with foam tape.


You are at the end of the Inspiration Hop! To make sure you have made the whole circuit, follow the link back to Scrap'n Stamp Canada for the full hop order.

Don't forget to comment for your chance to win!

June 1, 2024

CCCC #30 - Guest Design


 Good morning! I'm so excited to be posting today as the June Guest Designer at the Caffeinated Christmas Card Challenge!

Cards must of course feature coffee and Christmas nu the challenge for the month of June is masculine design! You all know how hard it is to make those, but I'm up for the challenge.

I decided to use an older and sadly retired MFT Cover-Up die called Sending Christmas Joy! I made my own patterned paper by gluing strips of cardstock horizontally on to a piece of copy paper. This is going to be the inlay in my inlay design! The large JOY was cut three times and adhered together. The top layer was the stripes and the bottom two layers are red cardstock. They were glued together with liquid glue.

It was hard to cut through the stripped paper I made. I tried using both my Gemini Jr. and by Big Shot with shims, which after multiple passes it got my cut. A lot of cutting but the results are so worth it. 

A card base made from kraft cardstock works well for a masculine I cut the cover plate again with a 5 1/2" x 4 1/4" piece of kraft cardstock making sure that I saved the insides of the D, r, a and the large O.

I adhered the kraft cut to the card front using liquid glue. Next I started the process of inlaying all the pieces into the die cut! The pieces slipped in easily and I made sure that they were snuggly fit before putting any pressure on.

The coffee cup was made from Concord & 9th's Cup of Kindness Stamps and dies. I constructed the cup using the same red and karft cardstocks. I was sad to have to cover it up the O, but it just worked for this design.


For the month of June Brass and Bliss is the sponsor for the June prize.

Hope to see you play along for your chance to win!

Thank you so much for stopping in today with me. Wishing you a lovely day!