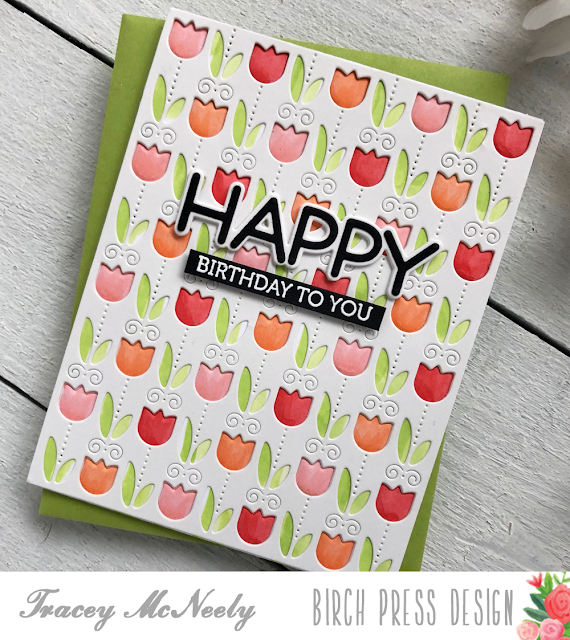
Happy Friday! I hope that you are seeing the tulips blooming in your garden. There is lots of green popping up in my garden but living in the woods I never know exactly what it is, until it blooms! Spring came a bit early this year so maybe they will all bloom at once.
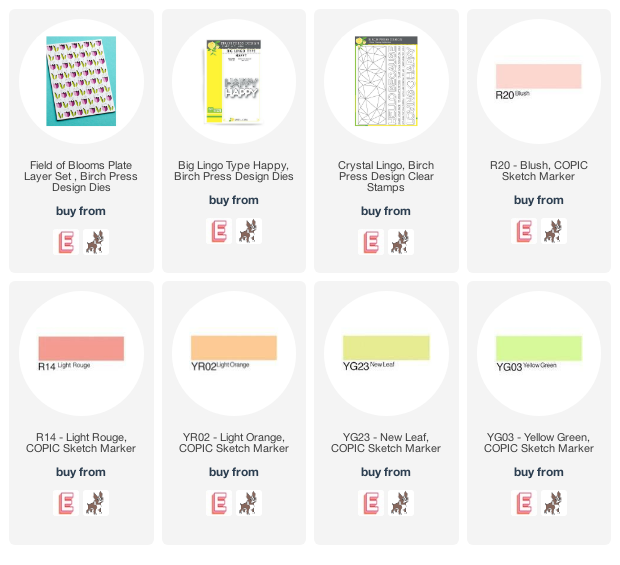
Using Copic markers I coloured over the image that was embossed so that the colours would show through Layer A which is on top. I didn't worry about colouring perfectly, in fact my colouring is quite messy, but because it is being covered with Layer A there is no need for perfection. The picture below was my practice piece so that you can see what I mean by messy. I changed the colour scheme on a new embossed panel and realized I didn't snap a picture until I had glued all the layers together, but this gives you an idea of what I did.
After I finished colouring I set the panel aside. I die cut two of Layer A from white cardstock and then glued the two layers over Layer C. The whole panel was then glued to a top to an A2 top folding card base.
Happy was glued directly to the card front and the second line was popped up using foam tape. Now the card has both positive and negative dimension. Positive because both lines of the sentiment protrude and negative because the two top layers add negative perspective of the tulips!![]()

Thanks so much for stopping in today and crafting with me. Take another look at your layered cover die sets and think of ways you can mix and match the dies. Whether you are adding more layers or using less, or even cutting multiples of the same layer--one change can create a completely different look!
This is also colouring for Kathy Racoosin's Daily Marker Mini 30 Day Coloring Challenge and well as for the current Seize the Birthday #212 Spring Flowers.


12 comments :
Tracey, I absolutely love this card. This is one of the prettiest spring/summer cards. I typically scan through the pictures first and then read. I stopped in my tracks when I saw the "messy" picture before I read about it. It just made me laugh afterwards because I thought good grief that's kinda....um...Ha Ha Ha.
Anyway, I love it. I really do.Someone will get be so happy to receive this happy looking card. [Bunny]
They are so lovely, Tracey! I'd love them in any color!
=]
Beautiful card Tracey! Thanks for showing and explaining how you coloured your card.
So beautiful.
OH, I love this! Very pretty card, Tracey!
This is the COOLEST card I have seen in a long time! LOVE it!
Beautiful card.
This is so very pretty, Tracey. Thanks for showing how you got all those flowers colored. It's a really great trick.
This card is amazing Tracey! I love the colors you used on the tulips!
Love your beautiful tulip card...the colors are so bright and cheerful!
Simply gorgeous, Tracey ... I love tulips, so your card really sang to me! The colours are fabulous ... and using the plate to emboss the tulips before colouring, then adding the crisp top layer, makes it seems as though this design is appliquéd! Yum! Hugs, Anita :)
fun, playful, colorful, clean and well made. Love it!
Post a Comment