December 1, 2023

Scrap'N Stamp Christmas Critters Hop


It's time for the Scrap 'N Stamp Christmas Critters Inspiration Hop!  Get ready for a dose of joy & holiday cuteness as we feature adorable Christmas Critters in our projects this December!  Whether you're a seasoned crafter or just looking for some holiday inspiration, this hop is sure to have something for everyone.

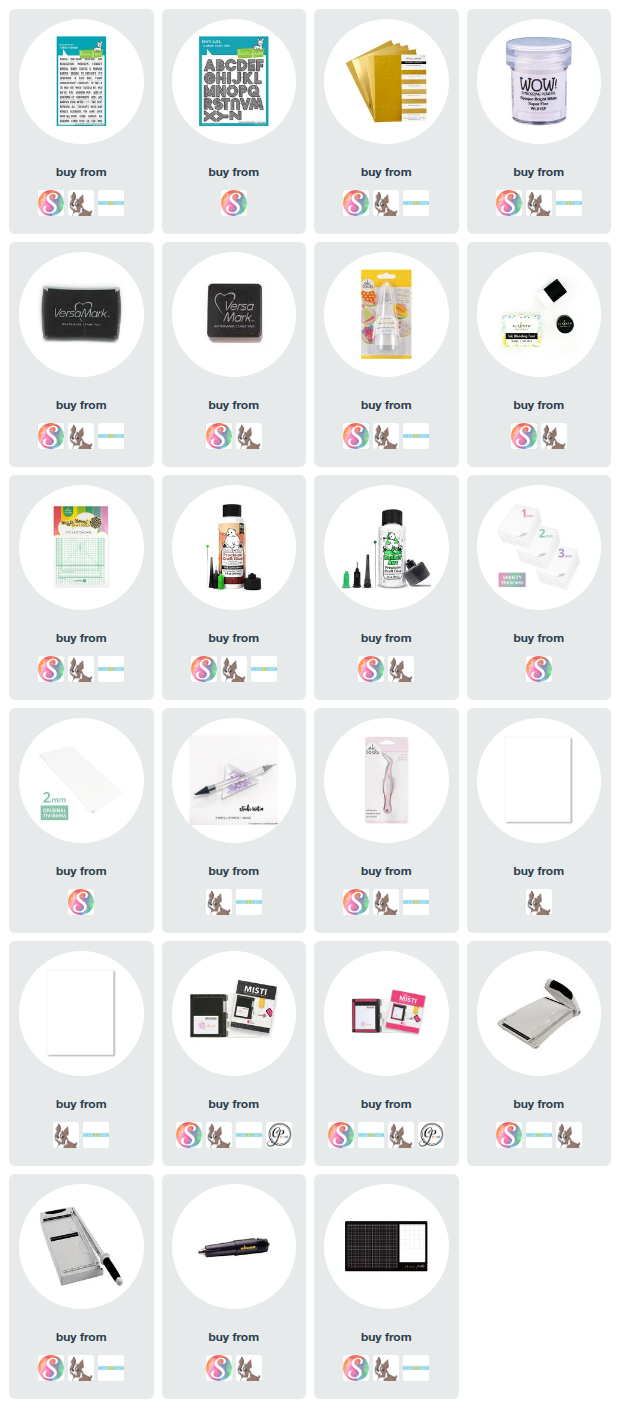
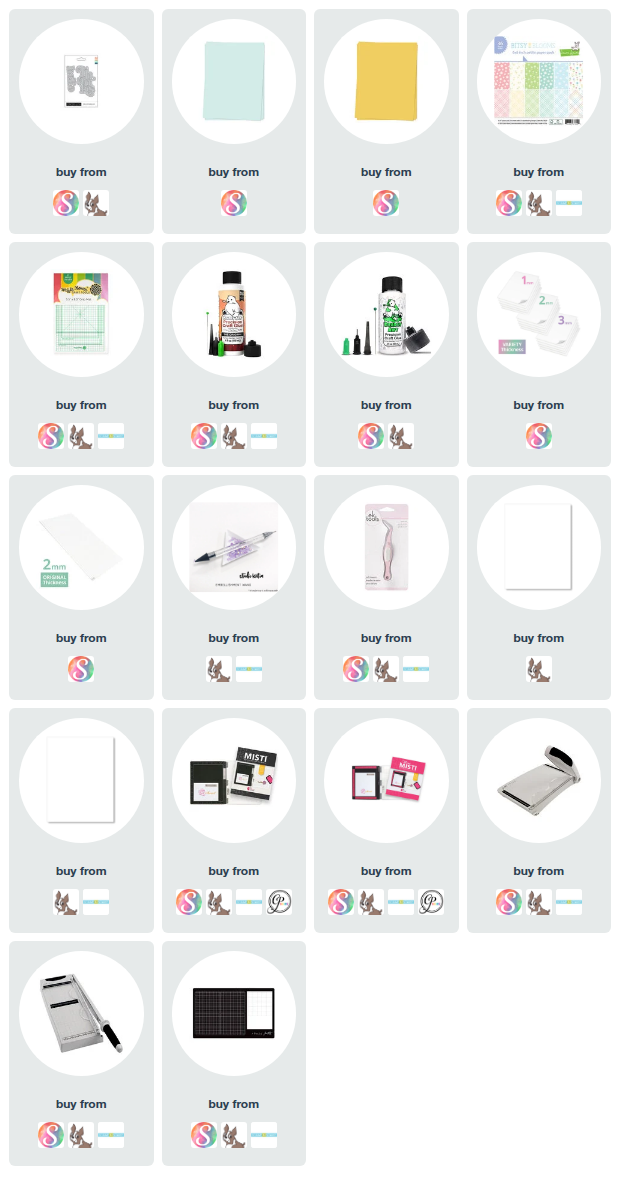
I combined some new and some old Lawn Fawn stamps and dies for the hop. I started by foiling my background using the Lawn Fawn Snowflakes Foil plate. I ink blending over the background using Tumbled Glass and Salty Ocean Distress Oxide inks. Then snow along the bottom was cut with Lawn Fawn Pixie Dust sparkly cardstock. I splattered a bit of white paint for extra snow and sprayed the panel with a light coat of shimmer spray.

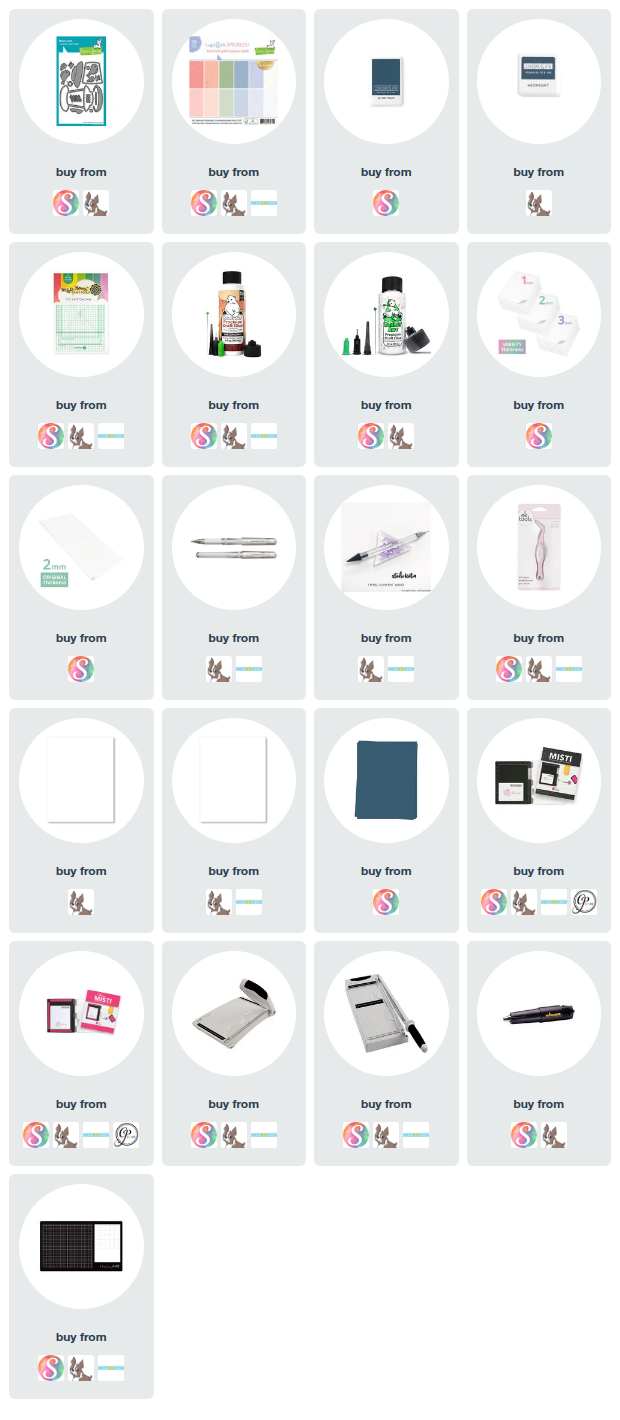
The Lawn Fawn Magic Iris Snow Globe was cut and ink blended with Tumbled Glass, Salty Ocean and Faded Jeans Distress Oxide inks. Blending the darker shades to the edges. I used the Ready, Set, Snow stamps and dies for the label on the snow globe.

The last piece I used the new Lawn Fawn Little Snow Globe stamps and dies to make the tiny snow globe inside the big snow globe and the doggie looking at it in anticipation of Christmas!


Be sure to leave comments at each stop along the way- a winner will be randomly selected from those comments to win a $50 gift certificate to the SNS online store & announced on the SNS blog December 26.

Of course there's also a SALE 20% off Critters until December 7, so have fun shopping after you hop!  

As a bonus, while supplies last you can get a Christmas Critter stamp for FREE with any purchase over $50!   Just look for this cute penguin stamp and add it to your shopping cart!


Color Hues #77

25 Days until Christmas! We have a special new challenge over at the Color Hues starting today. The Color Hues Color Challenge #77 will be a month long challenge because we know how busy life can be right before the holidays!

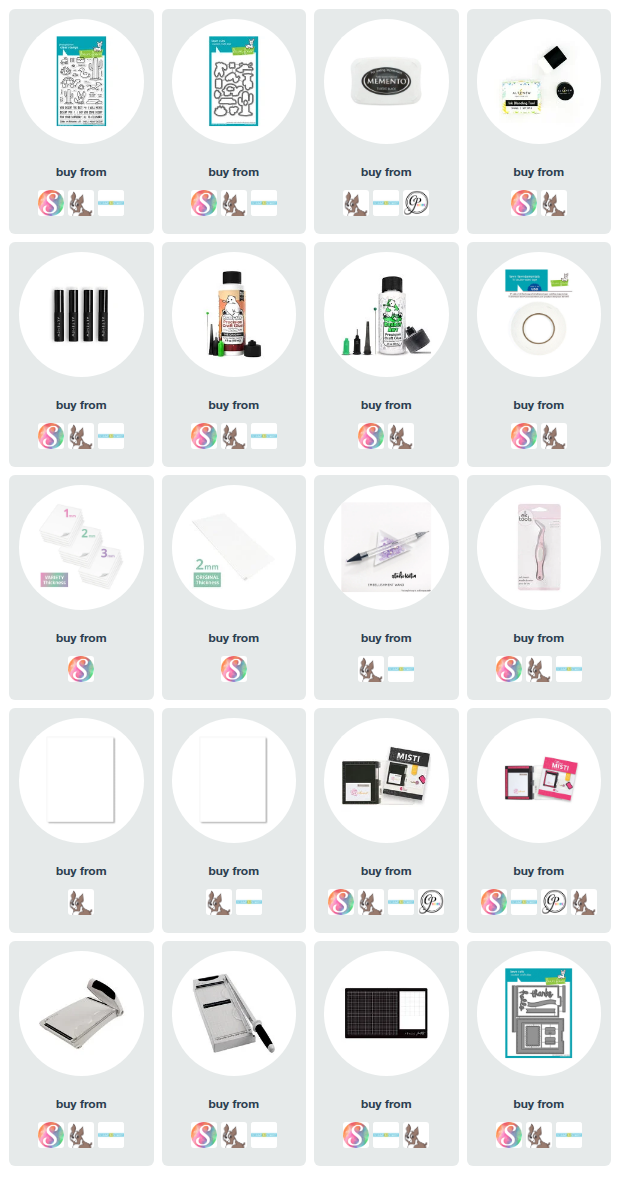
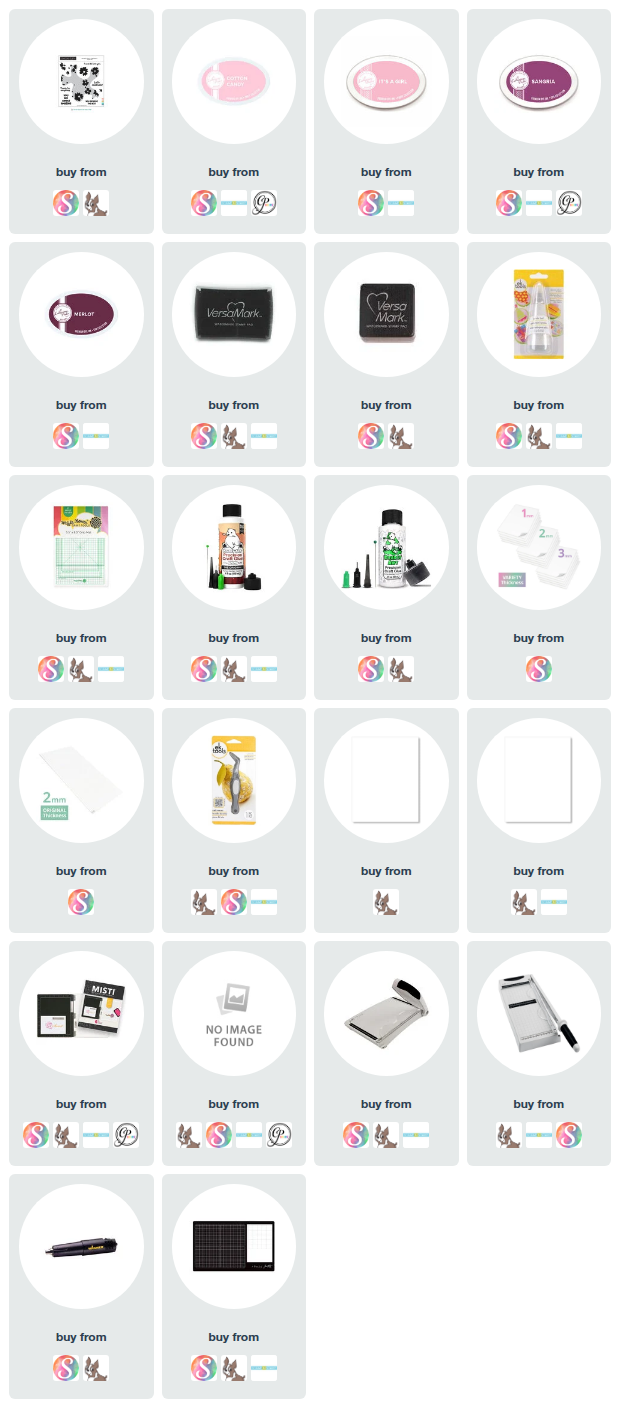
I used products I bought last year but didn't use from PinkFresh Studios. The stamps, dies and stencils are so more fun to use! I first used the ornaments foil plate to foil the ornaments with silver foil. Next I used the coordinating Ornaments stencil set to colour the ornaments with three shades of pink. I used Catherine Pooler inks in Cotton Candy, It's a Girl and Party Dress. I used a bit of masking so that I could stencil the ornament tops with Catherine Pooler Pebbles ink.


The sentiment is from the Ornaments stamp set, silver embossed and cut with the coordinating dies. The die cuts the sentiment into three pieces. I cut extra layers and glued the, together to give it some dimension before adding to the card!


The stencils lined up with the foiled image perfectly. A tip when stencilling over a stamped or foiled image. Check three or four points of the stencil to make sure you are lining up directly over the image before you start and it will be perfect!


This month long challenge will be open until December 28th!


If you have not already been to the Color Hues blog, please go and have a look My teammates have made so many specacular cards for t his months challenge!

Have fun and I can't wait to see what you do with these colours!

November 16, 2023

Color Hues #76

We have a new colour duo starting today at the Color Hues for Color Challenge #76! Teammate Jules Peddicord picked this festive color combination.

The perfect opportunity to do some foiling, but alas I was struggling with getting a decent impression. Tips from the pros (you) are welcome! After three days of not getting a good foiling my foil plate said bye bye. It does not heat up anymore. I checked everything I was able to check but nope, its done. A new plate is on it's way in the mail 😒

I used the Birch Press Designs Viola Plate A cut in black for the cover of my card. I used liquid glue to attach it to a red card panel. Then I used the PinkFresh Studios Thank You So Much Foil Plate to gold foil my sentiment. I cut the foiled image using the co-ordinating die and cut three more--2 white and 1 red. I stacked them up and glued them together using liquid adhesive. I thought the red in the middle added interest to the card. I'm not 100% sure if it did--lol! I gently blended Black Soot Distress Oxide ink along the edges for dramatic effect!


The second card was born from all the other cuts I made while deciding on my card design. I really like the look of the foiling on black and I placed a red Viola cut over the black panel and laid the black foiled sentiment on top.

I used the pieces that provided a decent foiling but I'm pretty sure the Gemini Foil Press hot plate was telling me that is was dying. The more I tried to get a good foiled image the worse they were coming out. I cut three more sentiment clouds using the coordinating die for extra dimension.

\


If you have not been to visit the Color Hues blog, please go and have a look at what my talented teammates have done. I promise it is never disappointing!

I can't wait to see what you do with these colours!

November 1, 2023

Color Hues #75

Hi there friends, a new colour duo has started for the Color Hues Color Challenge #75. Teammate Julie Beech picked this lovely color combination.

I used an old favourite, Lawn Fawn's Stitched Leaves. I think it might be one of my first purchases from them. I blended a panel of Tim Holtz Watercolor paper with Catherine Pooler It's a Boy, Cummerbund, Grape Crush and Serenade ink pads. Then I spritzed some Tim Holtz Distress Mica Stain in Hocus Pocus on to the panel for texture and shimmer. Of course the shimmer is always camera shy, but I assure you it's beautiful!


I cut the leaves from the dried panel and attached to my card front with white glue and foam adhesive.


The sentiment is from Lawn Fawn's Happy Feast stamp set.


Thanks for stopping in today and please make sure if you haven't already pop over to the Color Hues blog to see the fabulous creations my teammates have made.

October 16, 2023

Color Hues #74

Hi there friends! I'm introducing the new colour duo for Color Hues Color Challenge #74. Thus lovely colour combination was chosen by Design Team member Hannelie.

I'm grasping the last little bit of late summer that I can and I pulled out my favorite Crafters Companion Sunflower stencil & embossing folders duo. I first stenciled the sunflowers on white cardstcok with Catherine Pooler ink--Limoncello and Altenew Ink - Rocky Shores for the kraft. After the stenciling was done I carefully lined up he co-ordinating embossing folder and ran it through my Big Shot. It added so much dimension to the card! A sentiment was added using Waffle Flower Essentials Sentiments stamps & coordinating dies..


I trimmed the stenciled sunflower panel down and mounted it to a kraft card base.


The sentiment from Waffle Flowers Essential Sentiments was stamp and cut , then I cut three more layers and they were all adhere together to form a dimensional sentiment!


Fall came on fast and mother nature has swooped in this last week yo blow as many leaves as she could off the branches! The this card will by my last mermory of summer 2023!

Please head over to the Color Hues blog to see what my fabulous teammates have made for this challenge. I promise you won't be disappointed! 


October 1, 2023

Color Hues #73

Hi there friends! I'm introducing the new colour duo for Color Hues Color Challenge #73. Thus lovely colour combination was chosen by Design Team member Cindy.

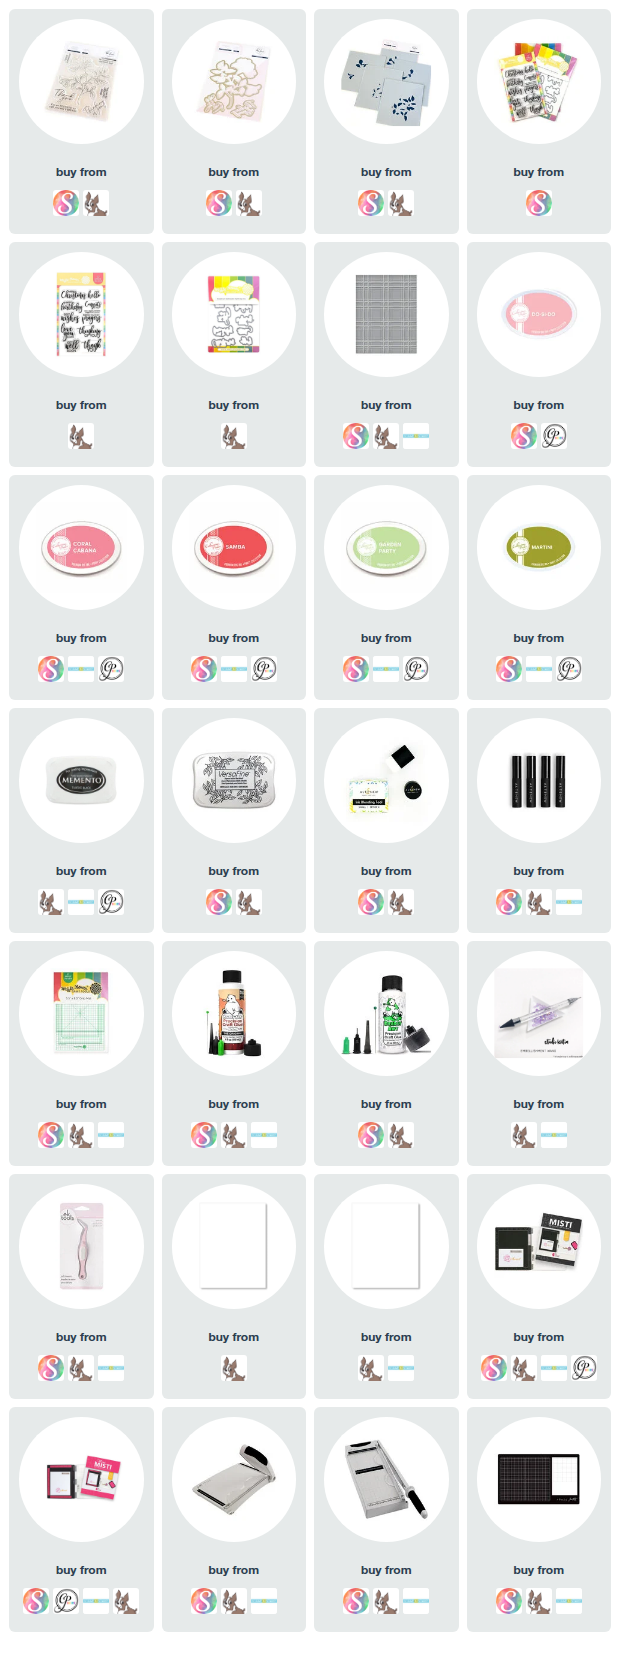
I used the new to me Papertrey Ink Wild Blooms stencil for my background. I used two shades of coral and three shades of blue. The fabulous 6 piece stencil is intricately cut for maximum volume of blooms to cover your panel. It's so easy to line up  and easy achieve look of some leaves being behind the blooms without being transparent! This one I can see myself using again and again in so many different colour combinations!


I'm so in love with this colour duo!


I finished it off with a very old Papertrey Ink stamp, Think Big Favorites #3. I don't think I would ever get rid of this stamp.


Here are the supplies I used. I'm working on making a bunch of cards with this stencil.


I can't wait to see what you do with this colour combination!

Please head over to the Color Hues blog to see what my fabulous teammates have made for this challenge. I promise you won't be disappointed! 


September 29, 2023

September Woodblock Wednesday

Hi there friends! Today I'm playing along with Amy Tsuruta's for her September Woodblock Wednesday! I haven't played along as much as I 'WOOD' have liked to this year. There has been so much going on in myworld this past year and unfortunately not a lot of crafty time and definitely not a lot of energy.

So when my good friend Kim Heggins, Cupcakes, Cards & Kim was visiting me in Canada last week we made our September Woodblock Wednesday cards! As usual when I open my boxes of woodblock stamps I fall down the rabbit hole. There is so much inspiration in those boxes, I don't kno0w about you but I always seemed to think when I stamped the images they would look just like the coloured photos of the wooden block--LOL!

I used Happy Snowman and Happy Holidays from Hero Arts and a Snowflake trio made by PSX! Doesn't it just make you giddy to remember bringing these woodblock stamps into our homes!

A little Prisma glitter for his pom pom and scarf detail.

Copic BG10, BG11, BG23 and YR02 for the snowman. Then a little bit of Copic shading using T0 and T1.


Thanks for stopping by!

The snowflakes were white embossed and I used Catherine Pooler inks to blend my blue sky I flicked some white acrylic paint onto the sky for added interest. I stamped and coloured the snowman and then cut it out with my Brother Scan N' Cut. I cut a snowdrift using an older set from MFT Stamps and stamped my sentiment on it. I cut the panel using the scalloped die from MFT Stamps Blueprints #27.


Thanks Amy for running this challenge, creating an entry makes me so happy!

Thanks for stopping by today!

\