Showing posts with label Studio Katia. Show all posts

January 11, 2021

Mass Producing Beautiful Quick and Easy Cards

I have a big post up on the Studio Katia blog today!
I was busy making Christmas cards using snowflake stencils from Studio Katia!

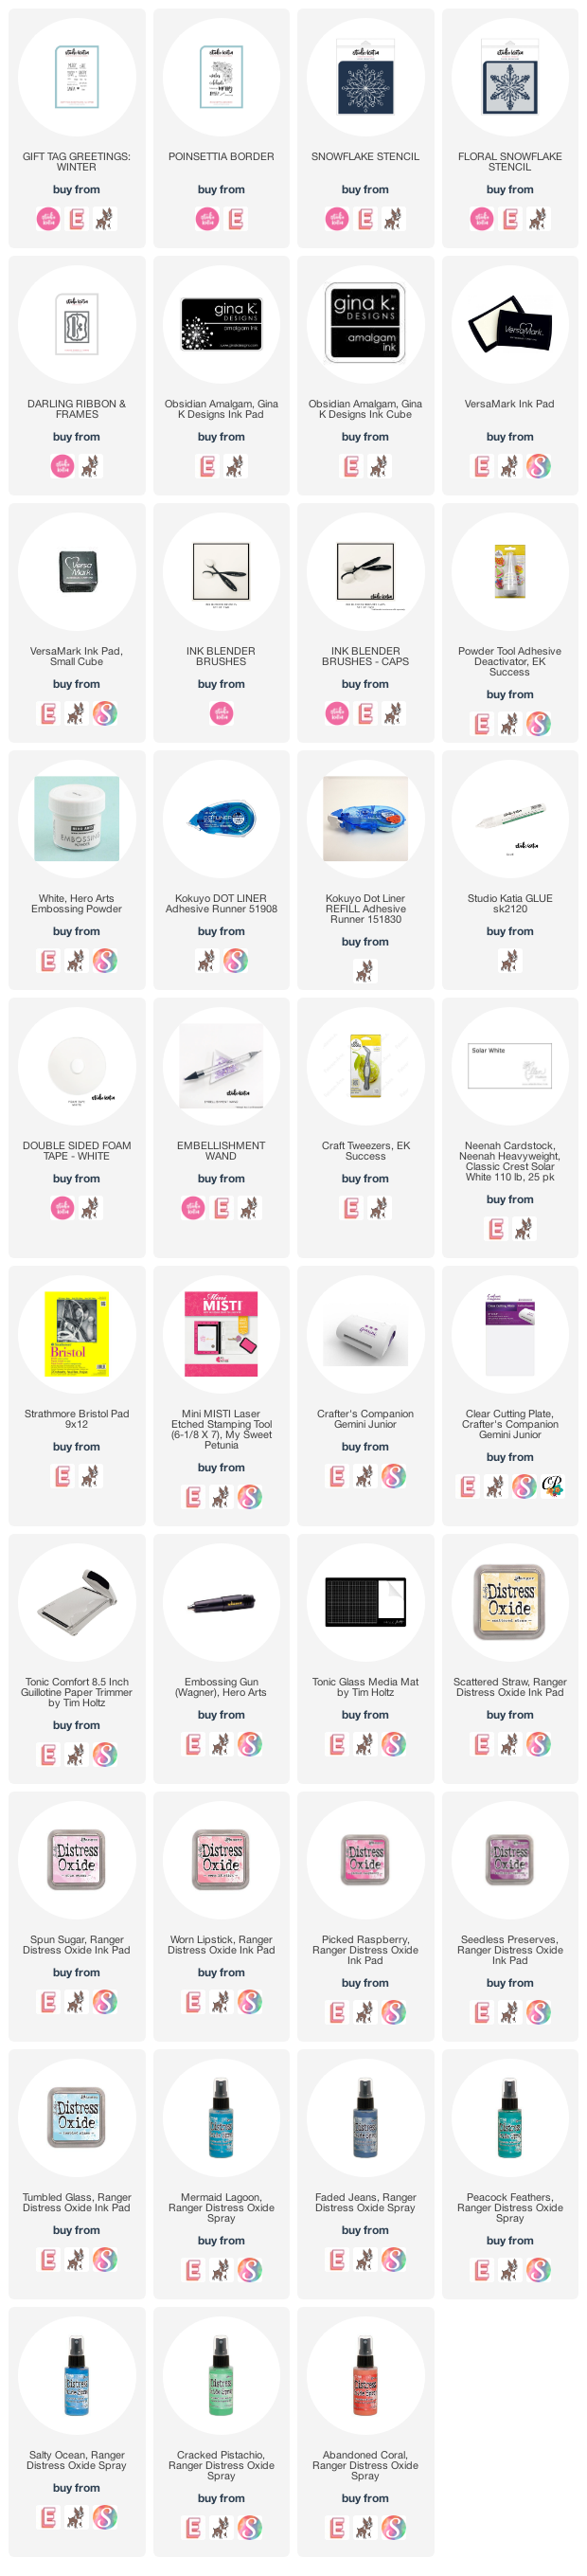
I made two sets of cards using the Studio Katia Snowflake stencil and the Floral Snowflake stencil. I used them along with Distress Oxide inks and Distress Oxide Sprays to quickly create some what are some of my favourite designs this year!


I used the Studio Katia Snowflakes stencil for this first set of cards. I began with a panel of Bristol Smooth cardstock. I sprayed the back of the Snowflake stencil with Pixie Spray, it makes keeping your stencils flat and in place so easy. I adhered the stencil, sticky side down, to panel so the snowflake is off the edge. I began by blending Scattered Straw Distress Oxide ink in the centre of the snowflake. Then working out from the centre I blended Seedless Preserves, Picked Raspberry and Spun Sugar Distress Oxide inks with the Studio Katia Ink Blender Brushes until I was happy with the blend. I intentionally did not cover the entire panel with ink, I let the Spun Sugar just fade off.


Each panel ended up a bit different depending on my ink blending, I wasn't too worried about getting the stencil spotless between each card. While cleaning off the stencil on my media mat I noticed the ink colours were seeping under the stencil. It looked like watercolour on the back, so I quickly grabbed another panel of Bristol Smooth and dropped the stencil on it. I wish I could have been able to get a better photo for you but this one turned out so fun. My favourite Christmas card I made!


Once all of the panels were dry I die cut them using the stitched rectangle from the Darling Ribbons & Trims die set. This gives a nice finish to the edge of the panel. The sentiment, Peace on earth, from the Poinsettia Border stamp set, was stamped and heat embossed with Wow Gold Pearl embossing powder on all the cards. Six cards and a bonus 7th!


For the second set of cards, I used Distress Oxide ink and Distress Oxide Sprays and with the Snowflake stencil and the Floral Snowflake stencil.


The first group were all made with the Snowflake stencil. Just like I did with the last set of cards, I cut nine panels of Bristol Smooth cardstock. I sprayed the back of the Snowflake stencil with Pixie Spray, adhered the stencil to the panel and put it into my Spray box. I sprayed Distress Oxide Sprays on to the panels one at a time using a variety of blues Distress Oxide Sprays--Peacock Feathers, Salty Ocean, Mermaid Lagoon, Faded Jeans and Cracked Pistachio. So fast, so fun and so pretty.


The next two cards are a bit different the first card uses Twisted Citron and Cracked Pistachio Distress Oxide Spray along with the Snowflake stencil.


For these next two cards I started by blending some Tumble Glass Distress Oxide ink onto the two panels just around the edge and keeping the centres mostly white. I used the Floral Snowflake stencil using Abandoned Coral and Cracked Pistachio Distress Oxide Sprays.


Once all of the panels were dry I die cut them using the stitched rectangle from the Darling Ribbons & Trims die set just like I did with the first set. All the sentiments were from the Gift Tags Greetings: Winter stamp set. Once everything was assembled I sprayed the panels with clear Glimmer Spray for extra shine and set them aside to dry.

A couple hours in my studio and I ended up with 16 Christmas cards!


December 9, 2020

Quick and Elegant Christmas Card


I am over on the Studio Katia blog today with a really quick and easily reproducible Christmas card. We are getting to crunch time now and it seems no matter how early I start making Christmas cards in the year, I never seem to have enough.


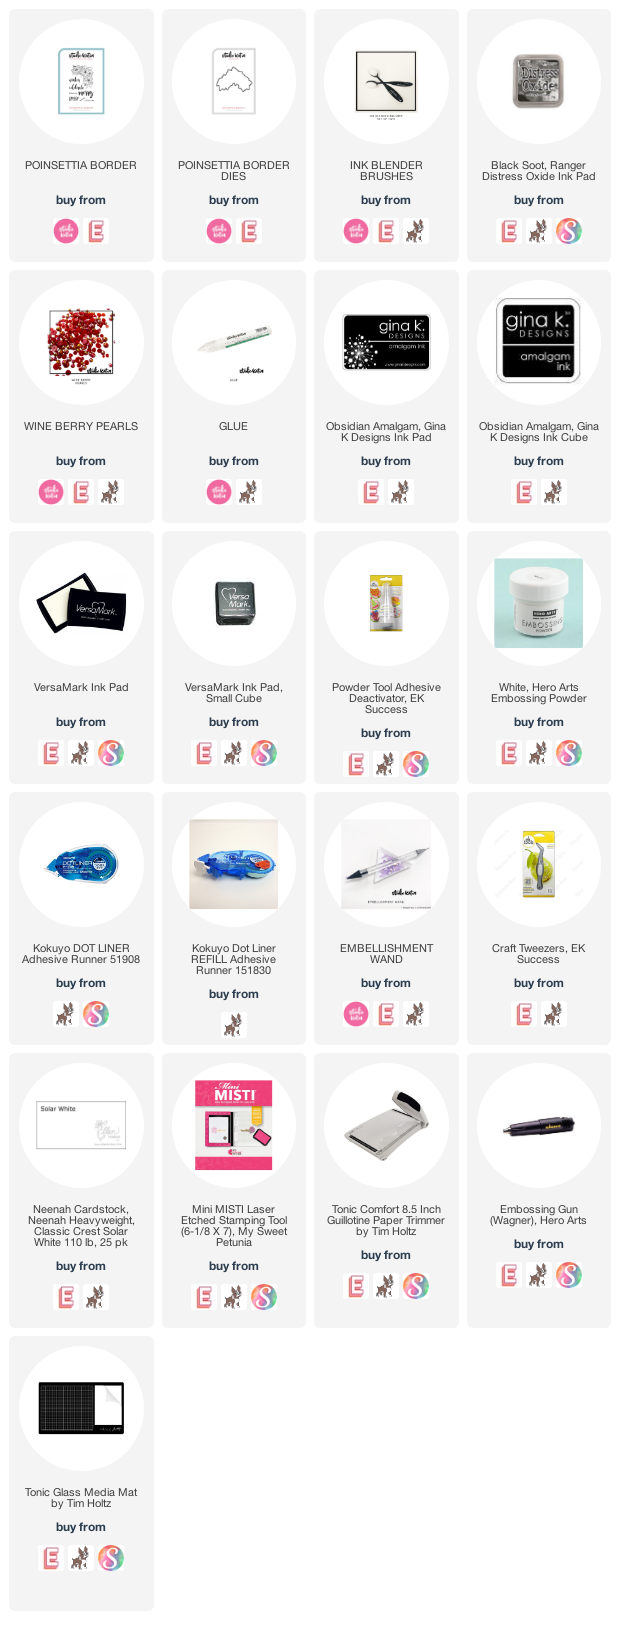
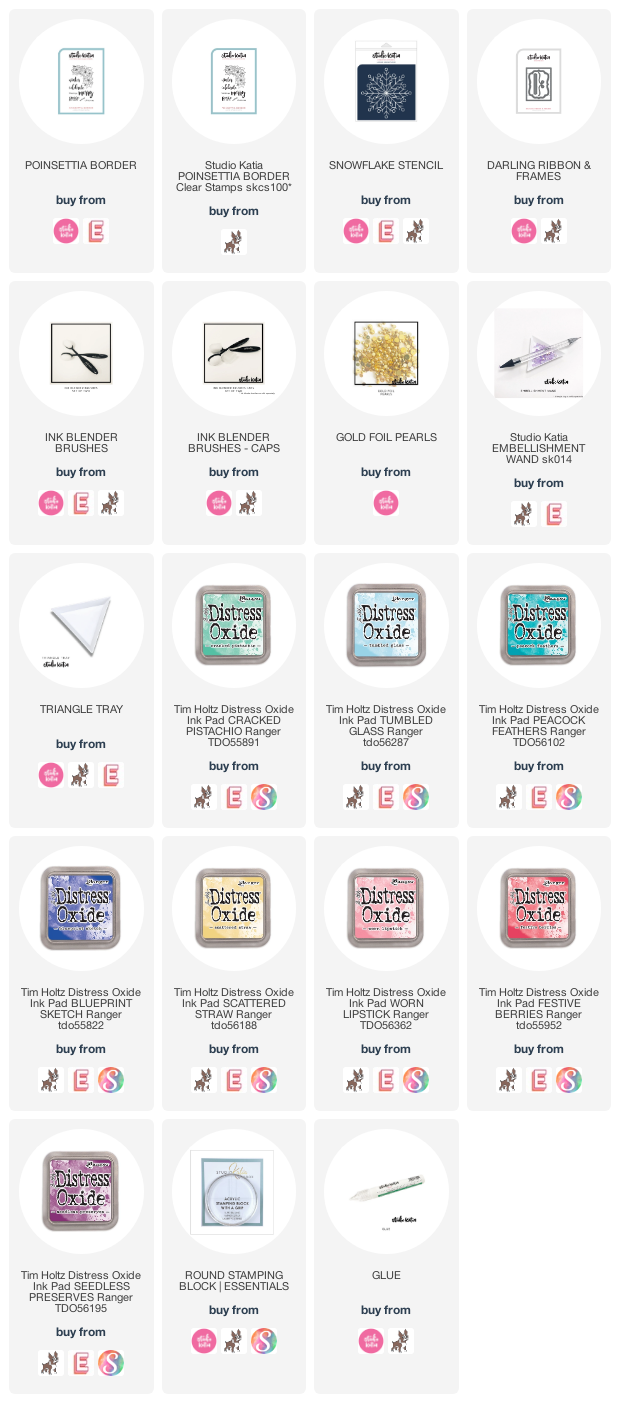
I used the Poinsettia Border stamp set to create my card today using some coloured cardstock, embossing and ink blending. Simple design but also very elegant.

I started with a 5 1/4″ x 4″ piece of red cardstock. I used my anti static tool all over the red cardstock so that I could prevent stray embossing powder sticking where it shouldn’t. Next I stamped and white embossed the poinsettia border in the upper left corner of my card. The sentiment from the same set was built with the “Merry” script stamps and Christmas in the sans serif font from the same in the bottom right.

My very simple card design was pretty, but it seemed to be missing something. I added some dimension by ink blending Black Soot Distress Oxide ink in from the corners on the red embossed panel using Studio Katia Blending Brushes. I used a very light hand to build to shading up slowly. Remember to can always add more but you can’t take it away.

To add a bit of sparkle to the front of the card I sprayed it with Sparkle Shimmer Spritz. It didn’t want to smile for the camera, but trust me it added a bit of elegance. To add a bit more to the card front without going overboard I added some Studio Katia Wine Berry Pearls over top of the berries on the poinsettia using Studio Katia glue. I used the two smallest pearl sizes and grouped them in three. 

Thanks so much for stopping in today!


November 27, 2020

Singing Snowman


Happy Friday!
I hope all my American friends are having wonderful Thanksgiving.

I have a post up on the Studio Katia blog this morning. I am finished my tags for this year and I am full on finishing up my Christmas cards now.

Hope you have a chance to head over to have a closer look at my card, see what products I used and a few more photos. Have a wonderful weekend!


November 11, 2020

Studio Katia Snowman Slide


 If you are looking for the 25 Days of Christmas Tags you can click right HERE.


I am posting this sparkly Snowman Slide card over on the Studio Katia blog today. Hope you have a chance to pop over and have a look and to see what I did and used to make my interactive card!


October 26, 2020

Peace on Earth


I am up on the Studio Katia blog today sharing two elegant and easy to recreate Christmas cards that would be easy to mass product for the holidays.

I used one stencil and got two completely different looks. I blended Distress Oxide inks for both backgrounds, used the same stencil but ended up with two very different looks. 


Head over to the Studio Katia blog for more photos and to see what I did to create these two cards. What products and techniques did I use?


Thank you so much for stopping in today and we'll see you next time!

October 9, 2020

Happy Boo-day

Happy Friday!

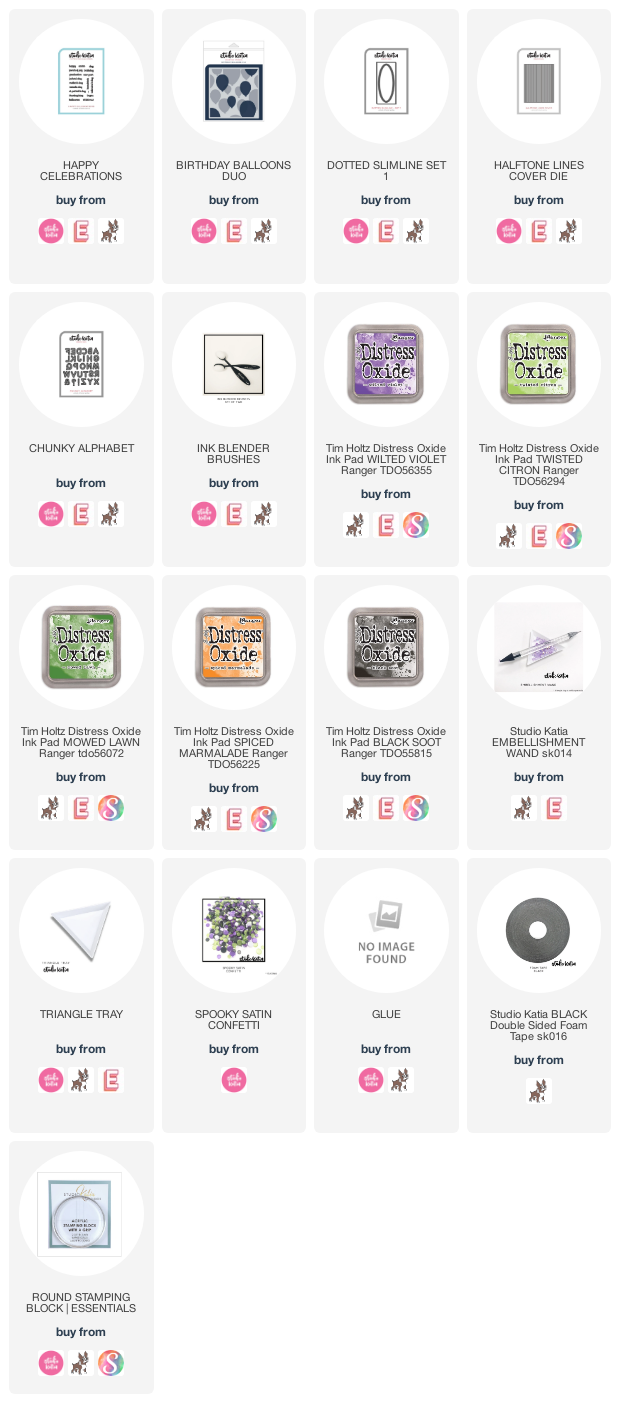
I am up on the Studio Katia blog today with a Slimline Halloween Birthday card?
It is so fun to create birthday cards with a Halloween theme for friends and family who have a birthday near the spooky holiday.

 All of the details and are over on my post on the Studio Katia blog!


It is Thanksgiving here in Canada this weekend, it's looking a bit different this year.

Thank you for stopping in today, have a good weekend and stay safe!

September 16, 2020

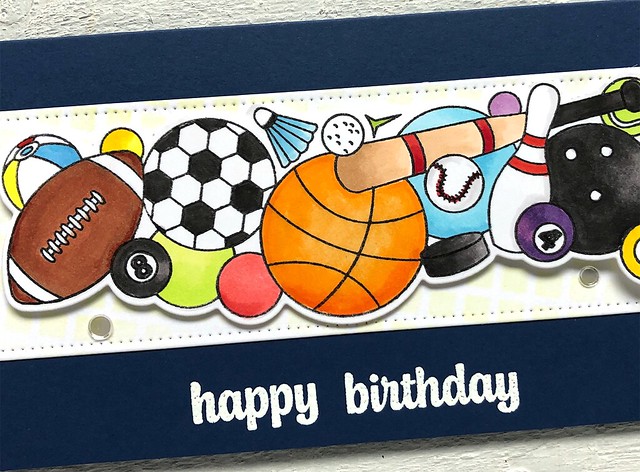
Sporty Birthday

tracey_Sporty_closeup

Today is my day to post on the  Studio Katia blog!

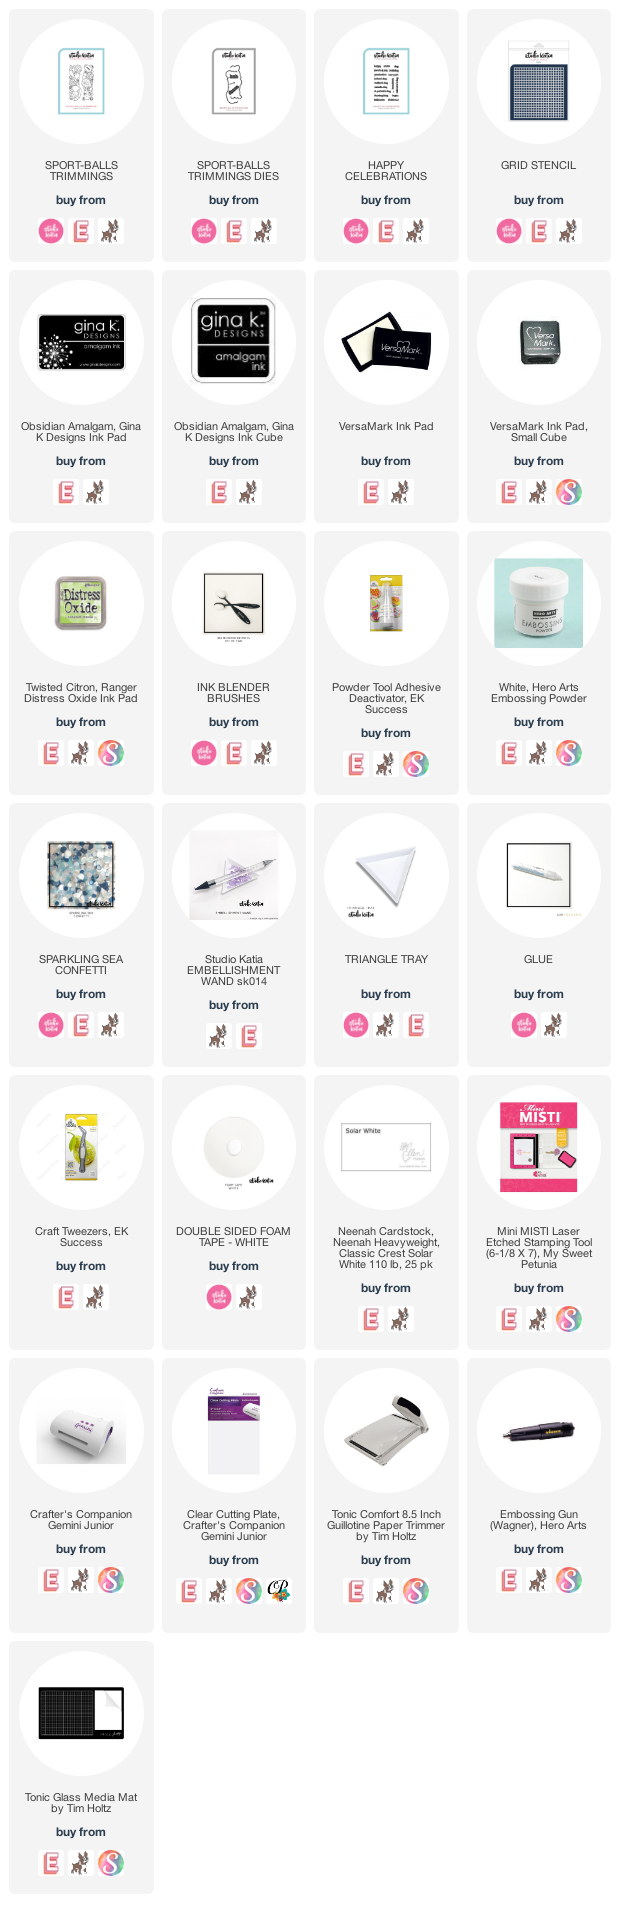
I created a Sporty Slimline Birthday card that would be a perfect masculine card or for a sports buff, child or teenager.

See the full photo and detailed instructions over on the Studio Katia blog. I would love it if you popped over to say hello!


tracey_Sporty_left

Thanks for stopping in today!


September 1, 2020

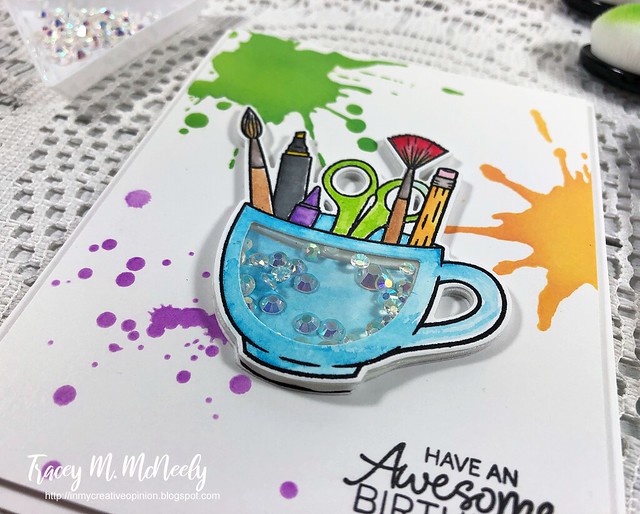
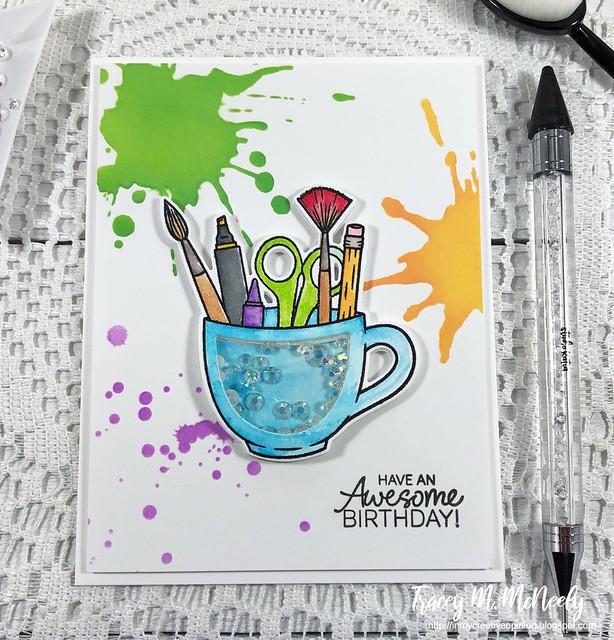
Craftastic Birthday Shaker

tracey_Craftastic_closeup

I am on the  Studio Katia blog today with a crafty shaker card.

Full instructions for this cute little shaker prfect for a crafty friend on the Studio Katia blog.


tracey_Craftastic_main


Thanks for stopping in today!


August 19, 2020

Joy and Friendship


I have a card up on the  Studio Katia blog today using some new to me products.


I hope you have a chance to head over and take a look.


August 4, 2020

How to Easily Fix the Challenges of Slimline cards

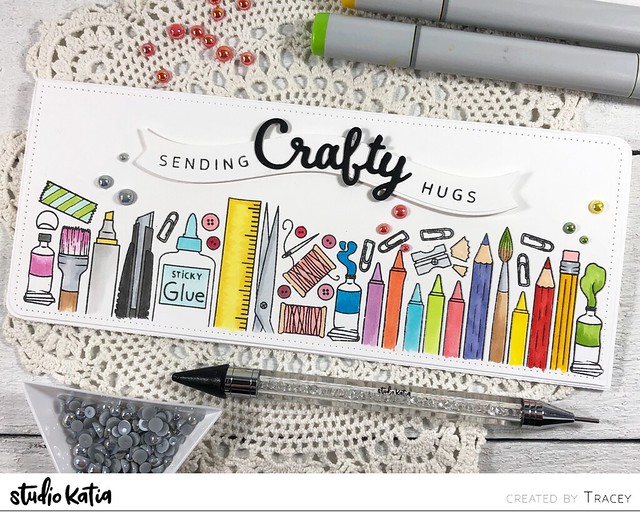
tracey_Craftyhugs_zoom1


Slimline cards are such a popular trend right now, but along with anything new or different come challenges. Today I am sharing a slimline card tutorial and video (coming later) on the  Studio Katia blog. I am tackling some of the challenges that I have found with these fun and trendy designs. So my post today is a little bit different. I am going to discuss SIX challenges I have found and offer some solutions as I create today`s card.

Here is a sneak of my card and I hope you have a chance to head over to Studio Katia and check out my post and let me know if you have faced similar challenges or it you have others I didn't think of?


tracey_Craftyhugs_main


Thank you for visiting!
Enjoy the rest of your day!


July 22, 2020

You Inspire Me Shaker


I am on the on the Studio Katia blog today sharing a tutorial on how I created this sweet shaker card featuring the new Flourishing Note stamp set and newly released Studio Katia Crystals!


Hope you have time to stop over and say hello!
Thanks for dropping in and have a wonderful day!

SUPPLIES-->


July 6, 2020

Cacti Hugs

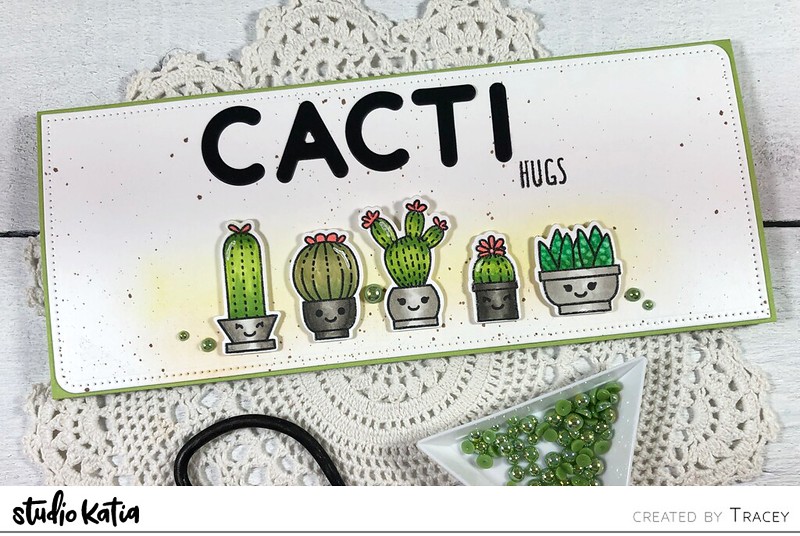
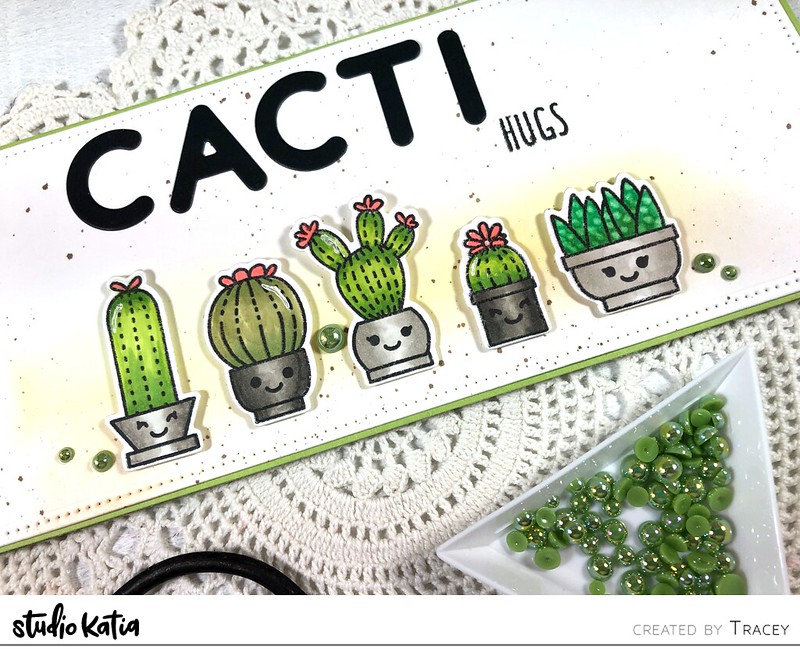
I have a new slimline card featured over on the Studio Katia blog today.


tracey_cactus_main

I used the newly released Slimline dies along with the Cactus Hugs stamp set and the coordinating Cactus Hugs creative dies for my images . The main sentiment was made up with letters from the new Chunky Alphabet dies.

tracey_cactus_angle

Head over to the Studio Katia blog  for all of the details.

Thank you for stopping by today!


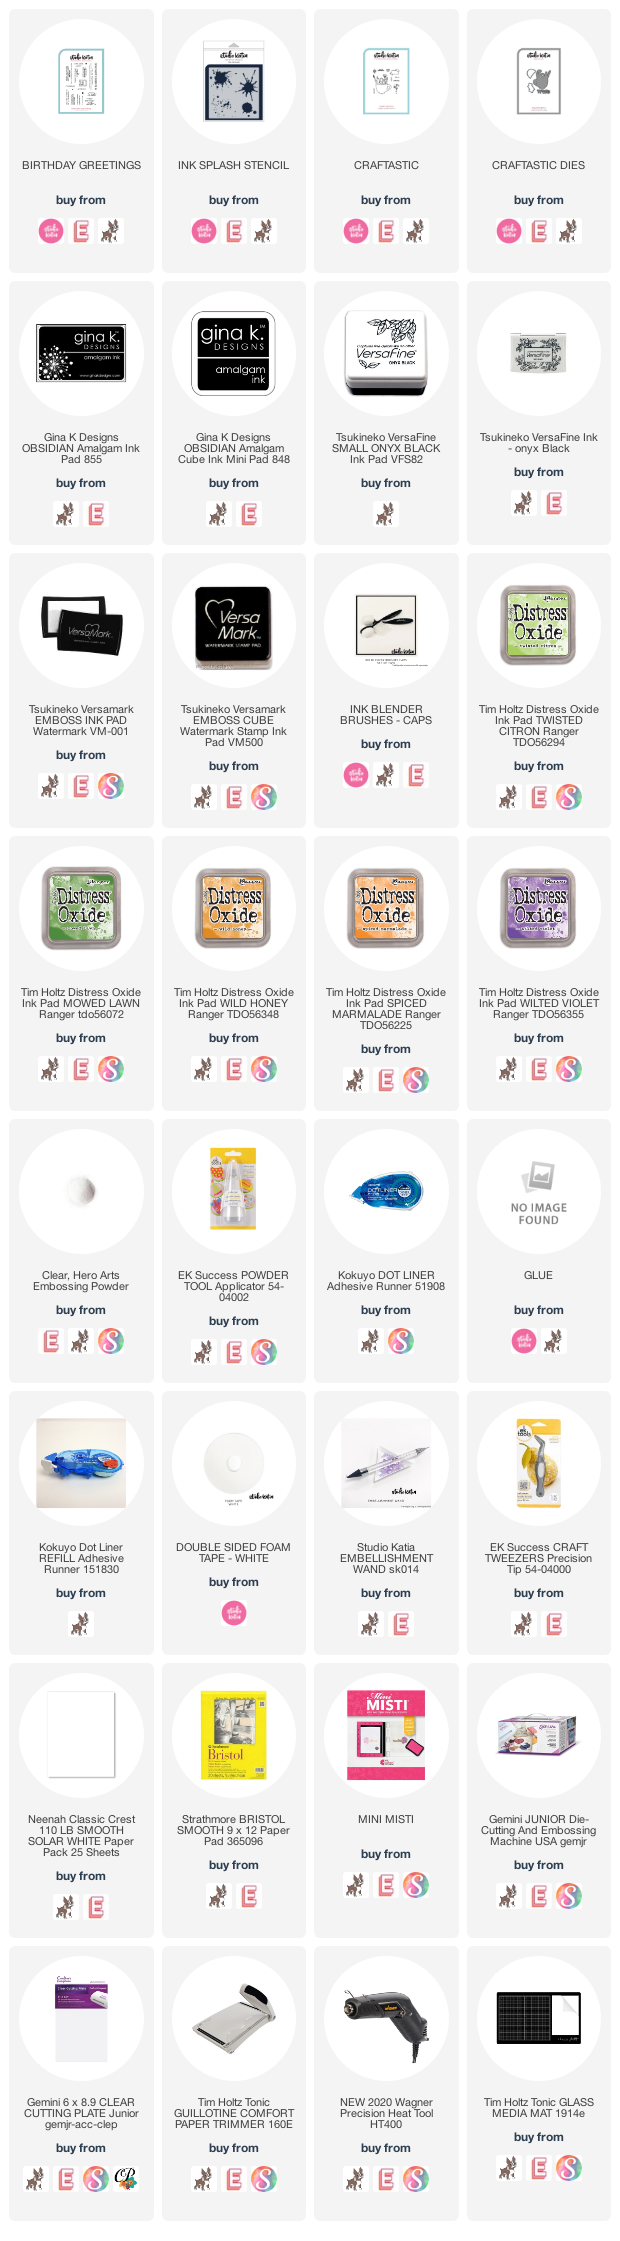
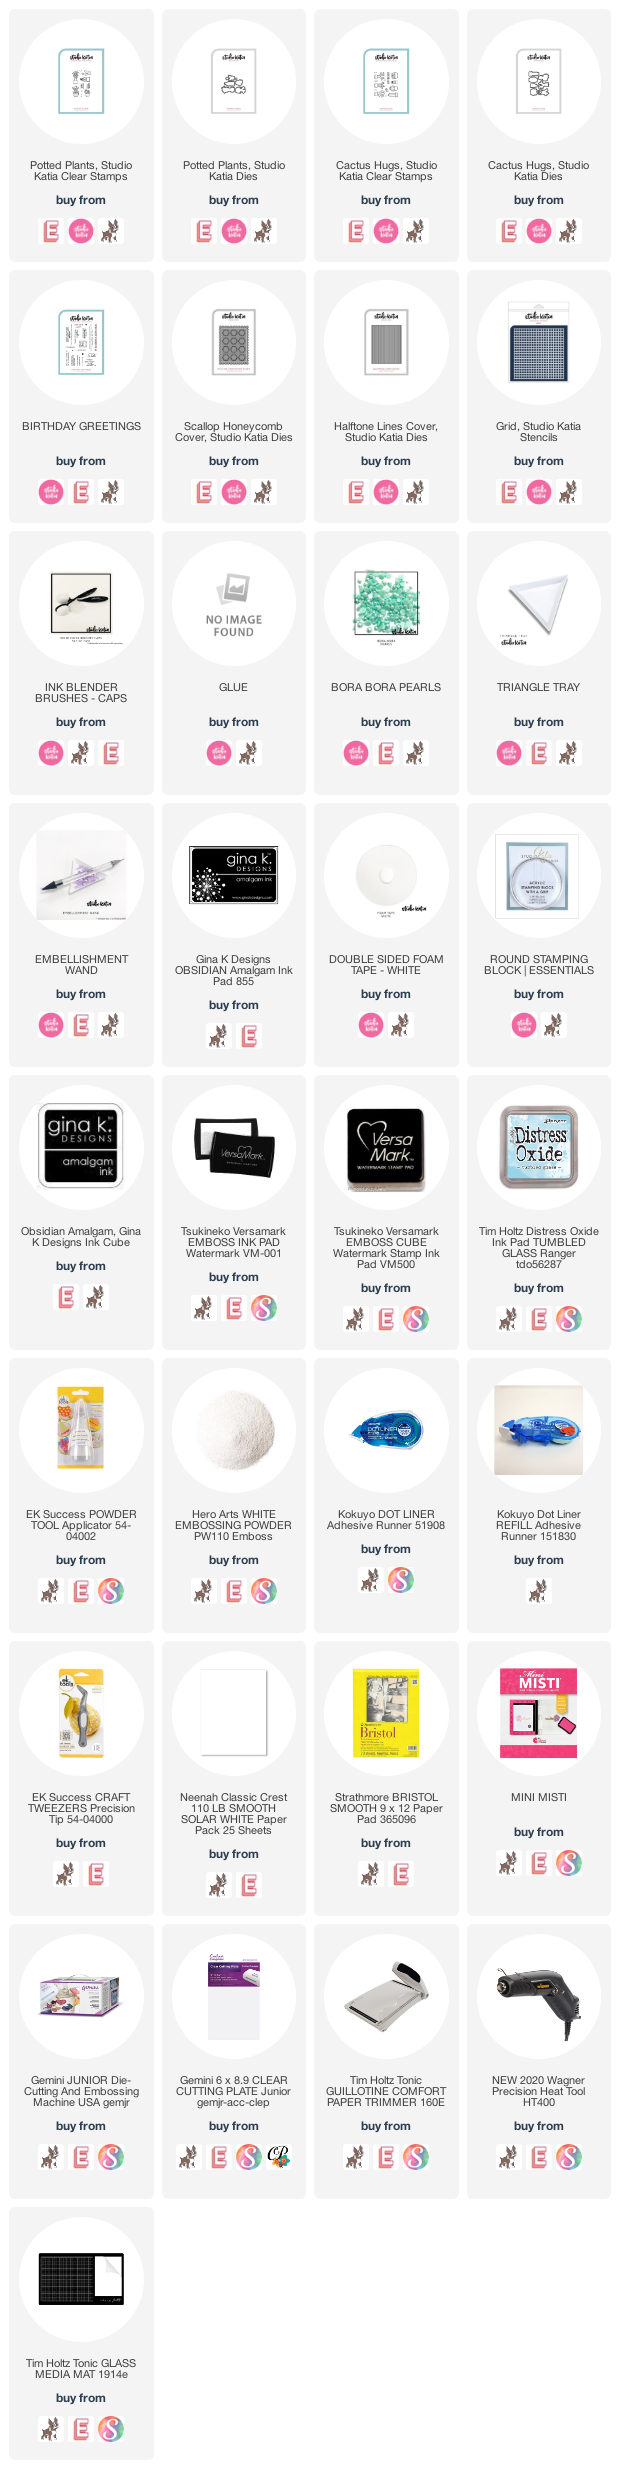
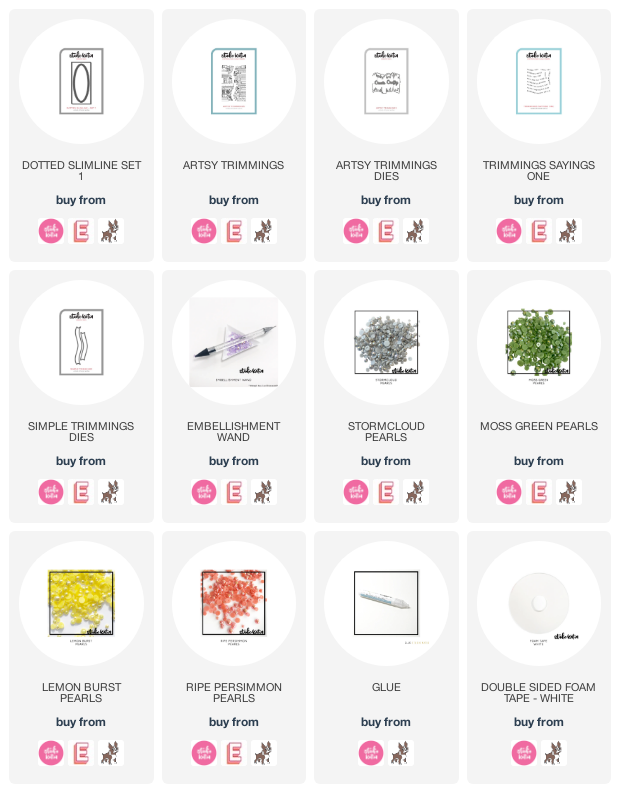
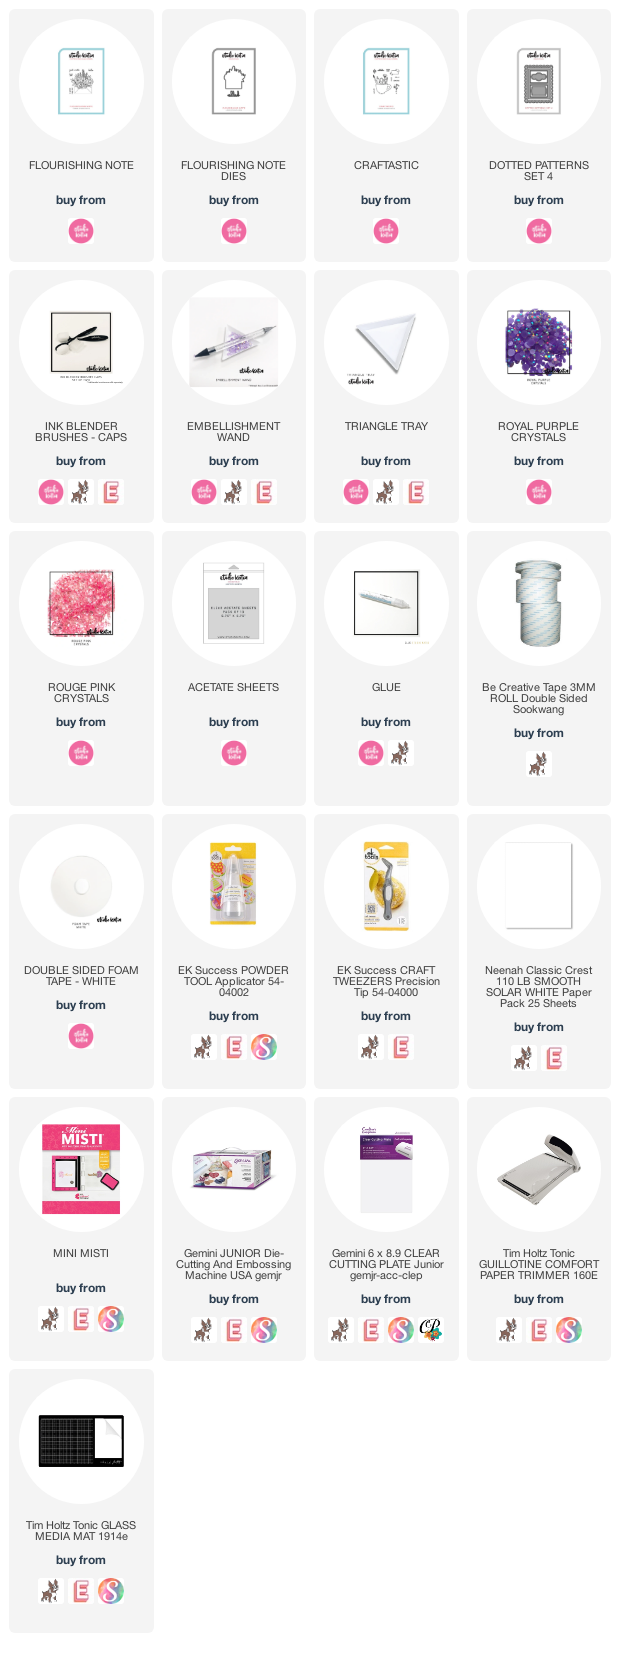
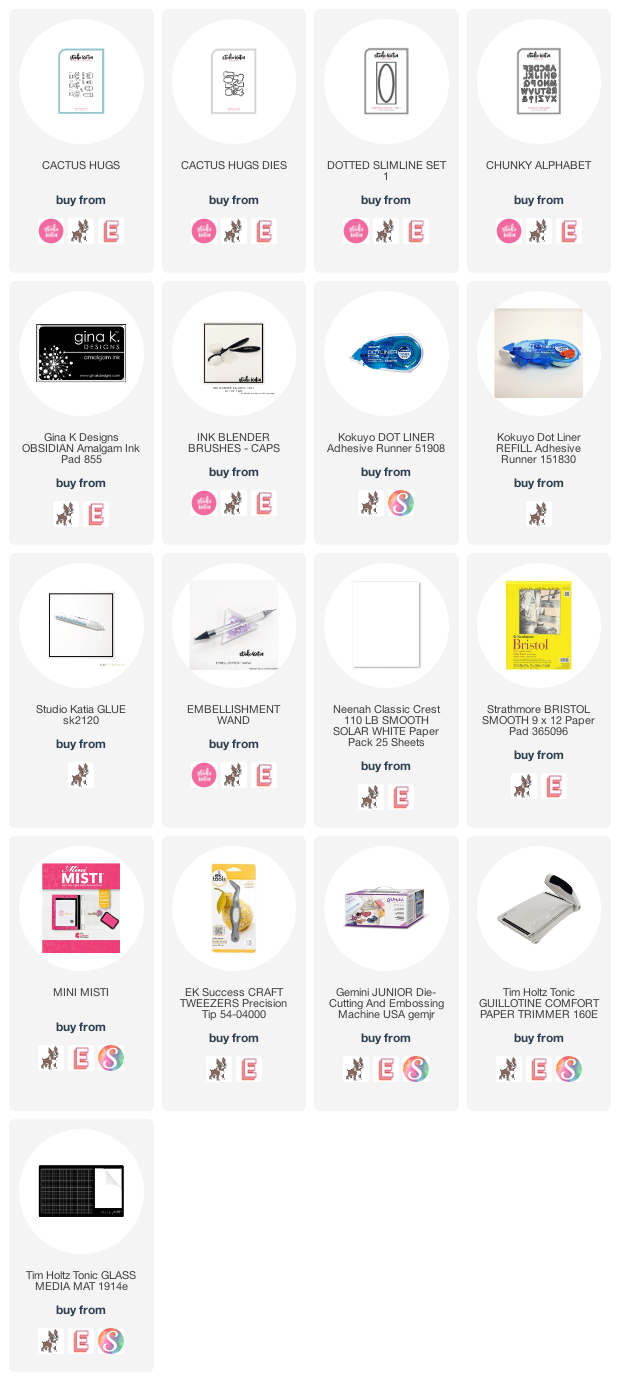
SUPPLIES USED:
I am trying out two styles of supply lists today, which do you think that you prefer?

Click HERE for my Visual Supply List!

OR