Hi there friends! I'm really excited to be posting again over on the Ellen Hutson blog! I'll be revisiting products from the most recent Essentials by Ellen Winter and Christmas Release, which is available for purchase at Ellen Hutson!
One
of my favourite things to do with a stamp set that contain individual images of
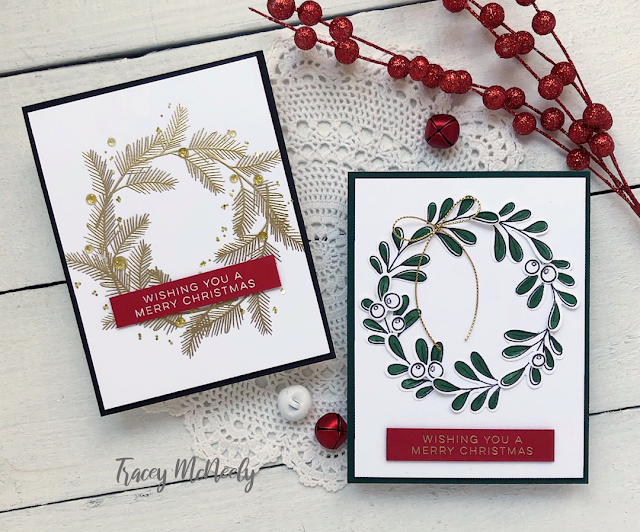
foliage is make it work to create a wreath, regardless of the season! Today
each of my cards will have a wreath that I made using different branches from
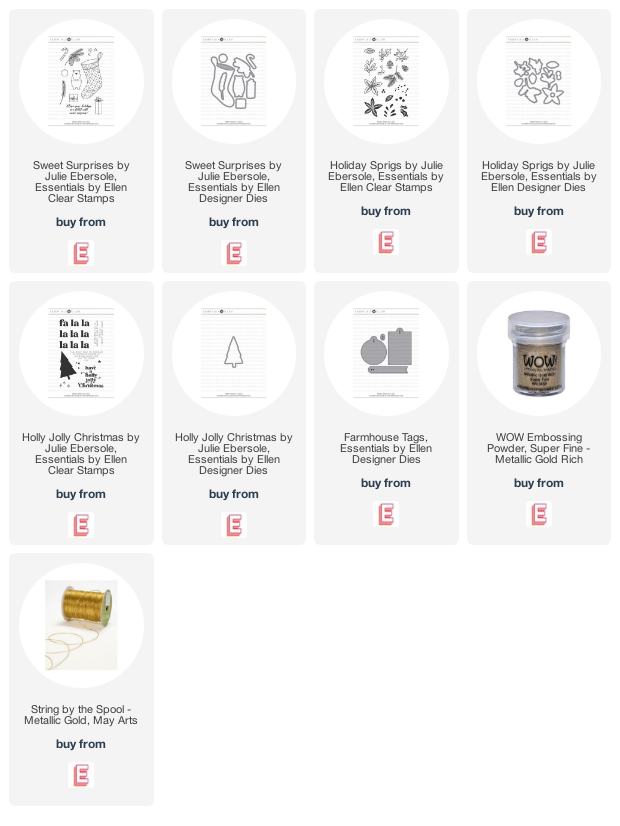
the Holiday
Sprigs stamp set and the co-ordinating Holiday
Sprigs designer dies. The first card feels a little more traditional and
elegant where the second is a bit more artsy!

I
usually begin a design by drawing a quick sketch of what I want to do, or in
the case for this card I made a sample to make sure that my idea would actually
work. Some days the recycle bin is full, and some days it’s back to the drawing
board. The sample is usually quite messy by the time I’m finished with it, and
there have been occasions when my sample turns out better than the finished
product. Does that ever happen to you? My sample usually becomes an integral
part of the overall creative process and before it hits the recycle bin for the
last time it’s usually covered with stamping, embossing, Copic marker, inks and
most times illegible scrawls—lol!
Once
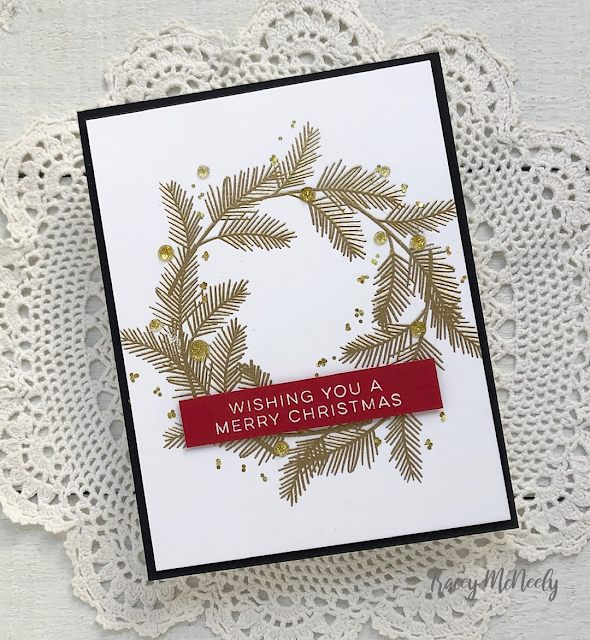
I knew that my design was going to work I went ahead and made my wreath base
using the pine branch from the Holiday
Sprigs stamp set. I cut a 5 ¼” x 4” panel of cardstock and used the Essentials
by Ellen Circle Designer Dies to create a circle in pencil where I want to
put my wreath. I used a 3” circle die and lightly traced around the outside of
it with a pencil. The branches and embellishments typically cover the pencil lines
pretty well so usually there isn’t a need to erase.
With
my magic
bag I rubbed it over my panel well so that I didn’t end up with embossing
powder where it’s not meant to be. Now this is where I go a little wild and I freehand
stamp the wreath using a watermark ink pad and an acrylic block, no MISTI.
I embossed the wreath with Hero
Arts gold embossing powder.
A
sentiment from the Holly
Jolly Christmas stamp set was masked, stamped and embossed with WOW
Bright White Opaque embossing powder on red cardstock and then added to the
card with foam tape.
TIP:
Use your magic
bag for more than just embossing powder to keep the surface slick. Your
embossing bag helps prevent other powders and glitter from sticking to
everything.
I
added a few gold sparkle jewels in various sizes on and around the wreath. Then
I dotted a ZIG
Squeeze & Roll 2 Way Pen around the outside of the wreath and sprinkled
Studio
Katia Gold Fever Glitter over the card. Just the right amount of sparkle!
For
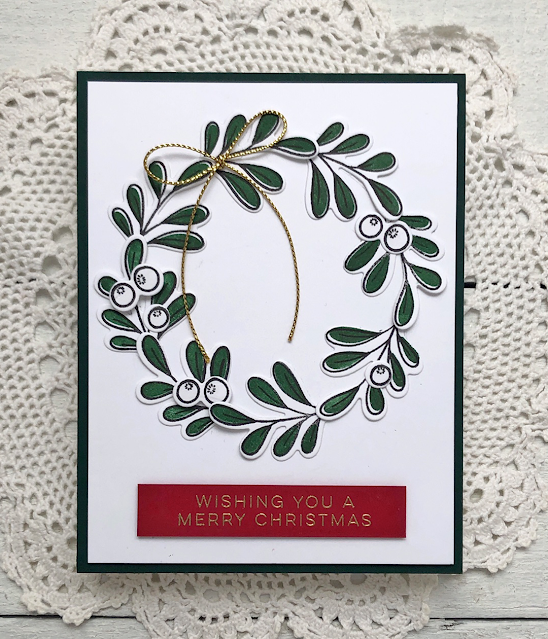
my second card I used the mistletoe branch from the Holiday
Sprigs stamp set to create a die cut wreath.
Just
like the first card I created a pencil circle for my wreath shape but this time
a bit higher up on the panel. This was so I would have enough room to put a sentiment
below the wreath. I stamped the outline mistletoe branch 8 times using black
ink. Then I stamped the co-ordinating solid image over top using Concord
& 9th Evergreen ink. Using the Holiday
Sprigs dies I cut the branches. The dies for this set are so easy to line
up with the stamped images! That is such a game changer for me.
Working
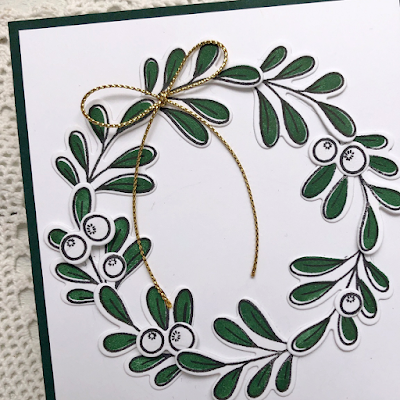
clockwise, I started building my wreath by adhering the mistletoe branches one
at a time to the pencil line using my favourite Nuvo Deluxe Adhesive liquid glue. I tucked the stem of the next branch under to top
leaf of the bough to give it a little dimension. I used 8 branches for my
simple wreath but you could add as many branches as you would like for a fuller
wreath.
Once
the wreath was complete I added some berries from
Holiday
Sprigs. They were stamped on white cardstock and cut with the
Holiday
Sprigs I tucked a few of them along the wreath and then added some of the
elusive, clear
ZIG
Wink of Stella. over them. That is for the eye of the beholder.
I
used the same masked sentiment from Holly
Jolly Christmas. This time I embossed it with Hero
Arts gold embossing powder and then added it to the card with foam
tape.
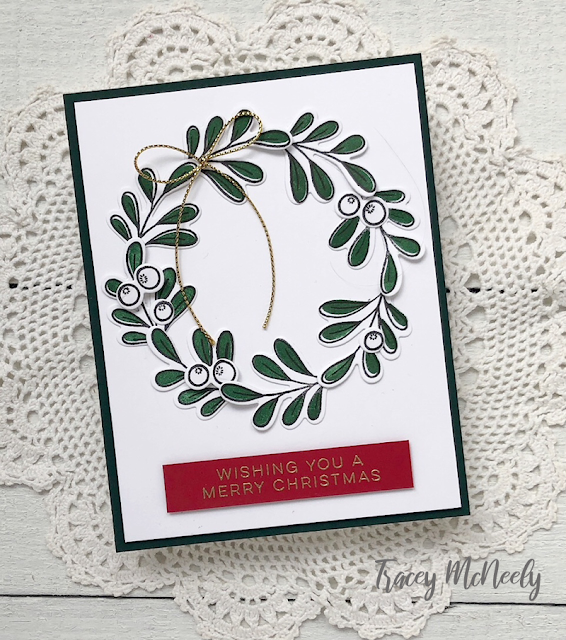
A
staple for me with my holiday card and tag making is May
Arts metallic gold string and May
Arts metallic silver string. I love having something so simple to make something
a little more special. So I finished it with a simple bow and called it done!
Thanks
so much for crafting with me and so much love to the team at Ellen Hutson for inviting
me back to the blog today.
~Tracey