May 28, 2021

Color Hues Challenge #18 - Purple and Teal

 Happy Friday!

I have a very late entry for the Color Hues Color Challenge #18.

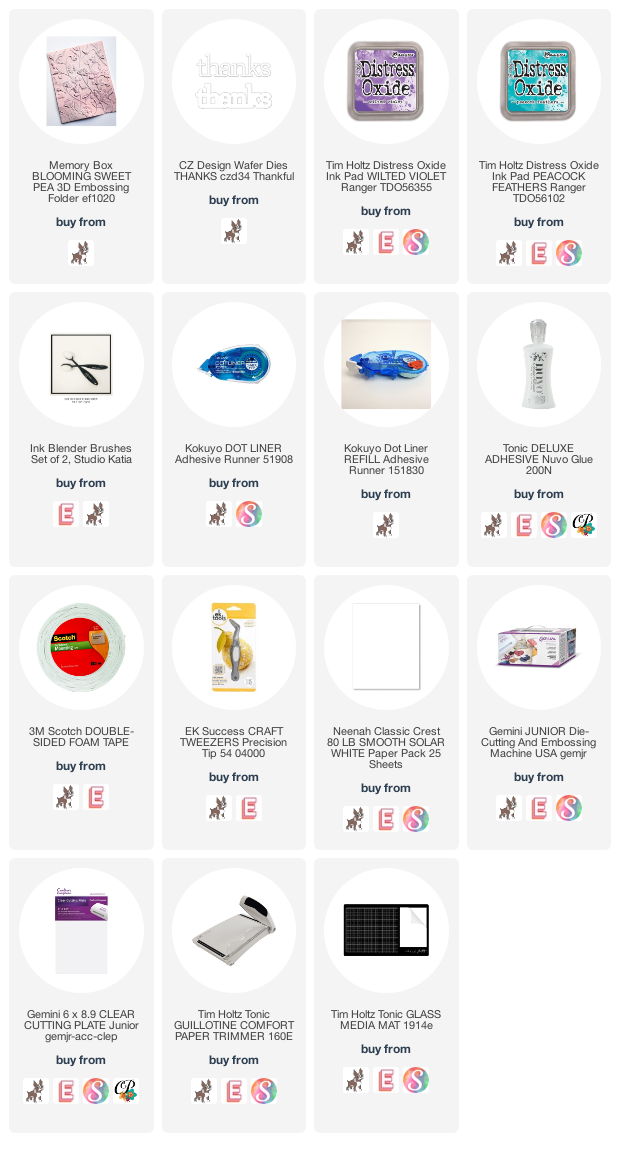
I used ink blending and the debossed side of the Open Studio Sweet Pea 3D Embossing Folder to create this beautiful. embossed background. I trimmed the panel down and adhered it to a card base with foam tape. I ink blended the embossed side the same way and made a second panel for a card. I stamped the 2 die sentiment with both black and white so I have sentiments for two cards.


I ink blended the embossed side of the folder and got a really bold debossed panel that is slightly imperfect making it a little more edgy.


Thanks for stopping in!


May 26, 2021

No Cardstock? Use a Gel Press to make your own!


Hi there I am up on the Birch Press Design blog today with a card using the new Arista Layer dies set.
I created my own paper to use on my project using the Gel Press.

After making my card I realized that a lot of people are unfamiliar with what a gel press is? It is literally a piece of gel that you can put ink on, then lay your paper down on it and when you lift it up it transfers the ink to the paper in unique ways! I made a quick little video to show you the process I used for my background.


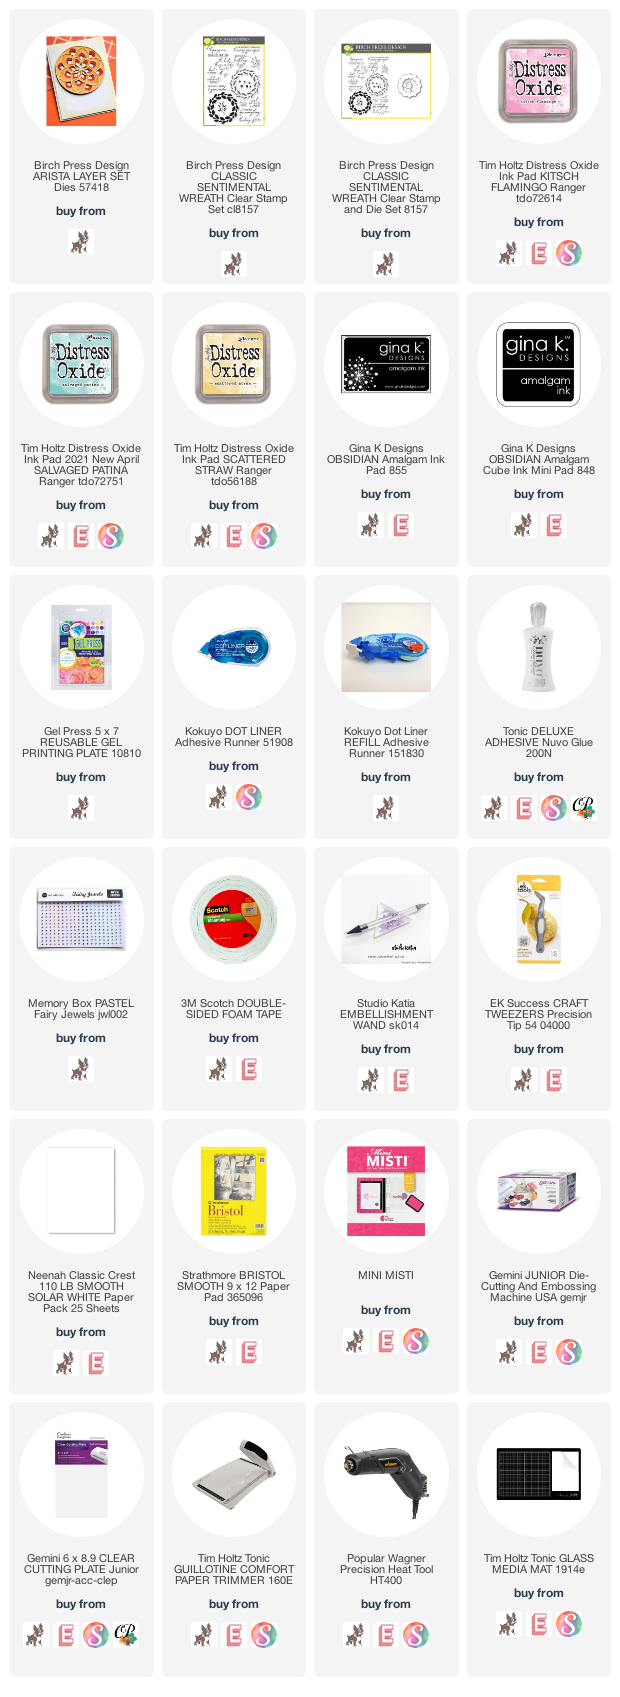
I used using Kitsch Flamingo and Salvaged Patina Distress Oxide inks to create the background panel. The fun with using the gel press is that every single print you make will be 100% unique. I set the panel aside to work on the focal die cut.

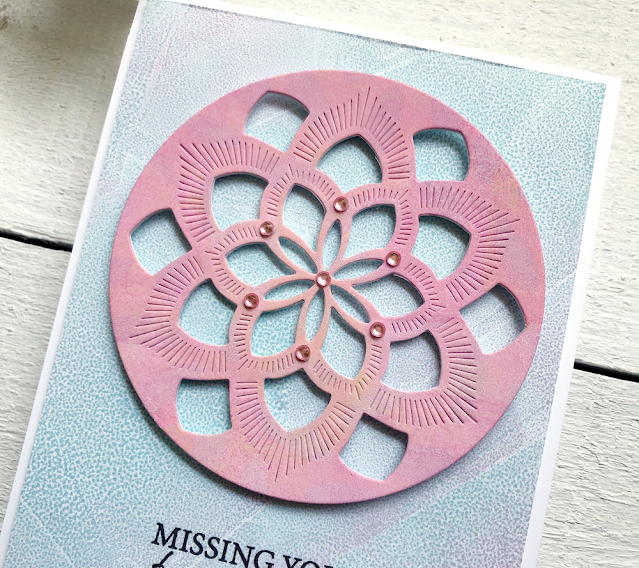
I had already made a panel using pink and yellow Distress Oxide inks--Kitsch Flamingo and Scattered Straw . I cut the Arista medallion, using only Layer B to showcase the amazing embossed detail on the die. I die cut it once from the pink/yellow panel and then two more times in white. I glued the three layers together to give it a bit of dimension.

The background was trimmed down to 5 1/4" x 4" and adhered to a white top folding card base for foam tape for even more dimension. Trimming the panel down leaves a nice 1/8" border around it. A simple detail that really steps up your overall clean and simple card design.

A sentiment from the new Classic Sentimental Wreath stamp set was stamped on the front of the card, leaving room above for the Arista medallion.

The medallion was attached using foam tape which gives it even more fabulous dimension. I added a few of the pink Open Studio Fairy Jewels to the medallion for just a bit of sparkle! These self adhesive jewels are a great addition to your craft supplies.


Thank you for stopping by today!

May 19, 2021

Follow It and using the Gel Plate

Good morning friends!

You may have heard by now that Feedburner is closing in July 2021. For many of you that is the way you have been following my blog over the years. 

I have switched my feed over to Follow.it!

You do not have to do anything if you were already a subscriber through Feedburner, you should still get email notifications when I post on my blog. 

If you would like to follow my blog, and don't already just sign up with the link in the right sidebar. Any questions? just send me a note.


Now that I have you here I was to share what I have been up to. After watching a few videos by Jennifer McGuire recently I decided to get a Gel Press and a brayer to make awesome backgrounds!


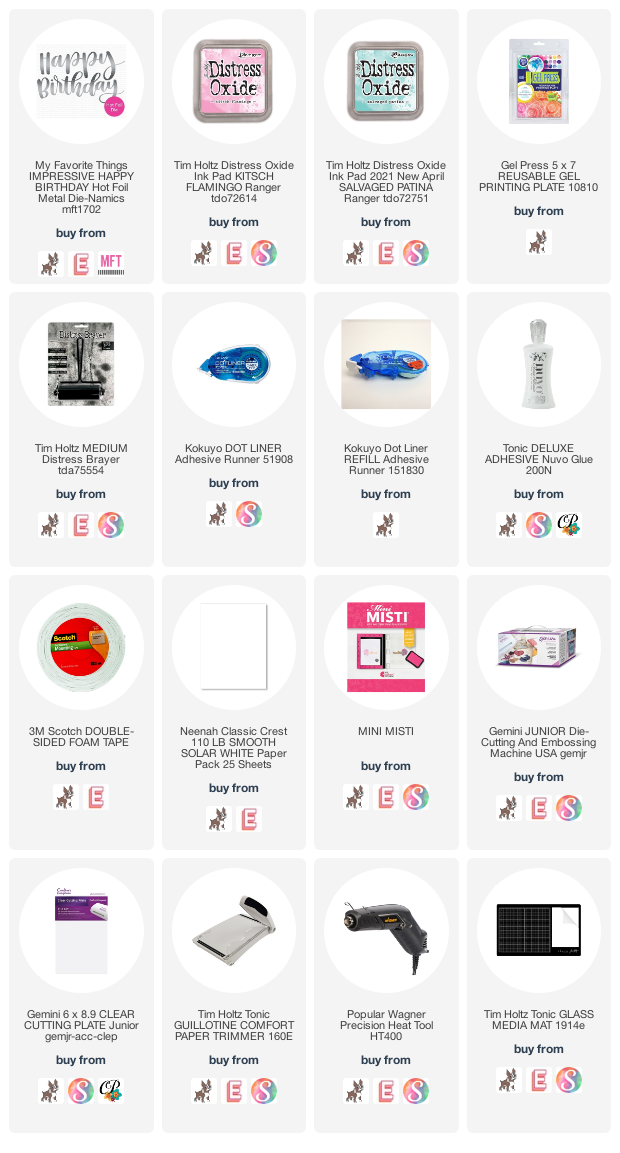
The first run with the gel press created some beautiful backgrounds. I'm learning as I go and I'll be sharing cards with you using these backgrounds as I make them. Today I have a gold foiled birthday card using a background I made using Salvaged Patina and Kitsch Flamingo Distress Oxide inks. After I inked up my Gel Press I kissed a large rubber stamp off the Gel Press leaving the image from the stamp on the press. Then I laid a piece of white cardstock over the Gel Press and when I removed it I had a pretty background with the impression of the stamp in a mixture of the DOx inks I used.

I used my Gemini Foil Press and the  MFT Stamps Impressive Happy Birthday die to foil the sentiment to the front middle. This die does not cut it is only for foiling so you need to get it in the right place on your background panel--ONE chance! lol


The finished card is beautiful and nice and flat for mailing.
Have a wonderful day!


May 9, 2021

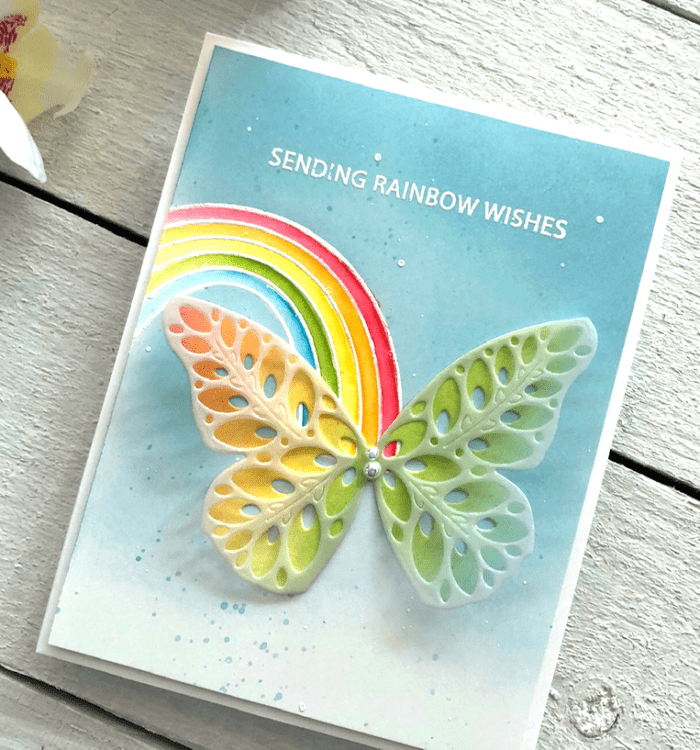
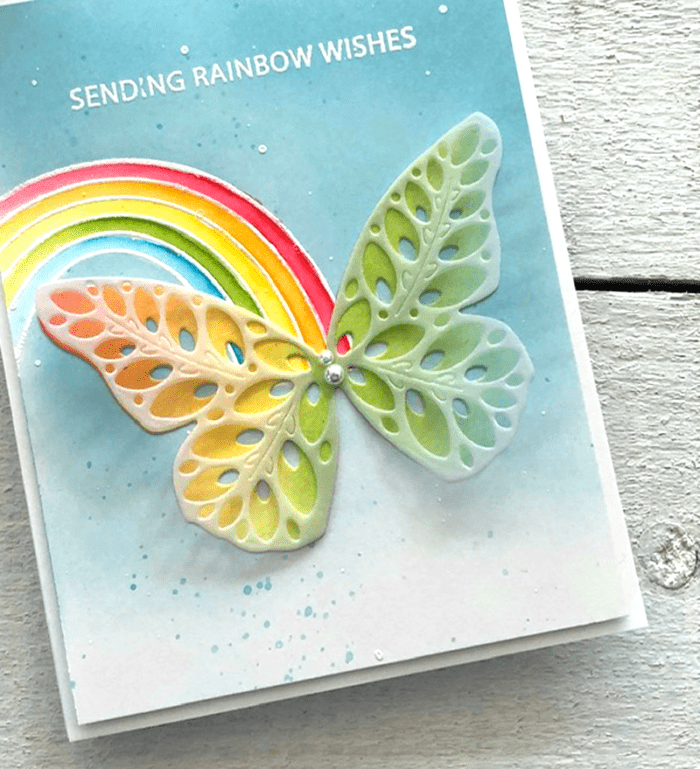
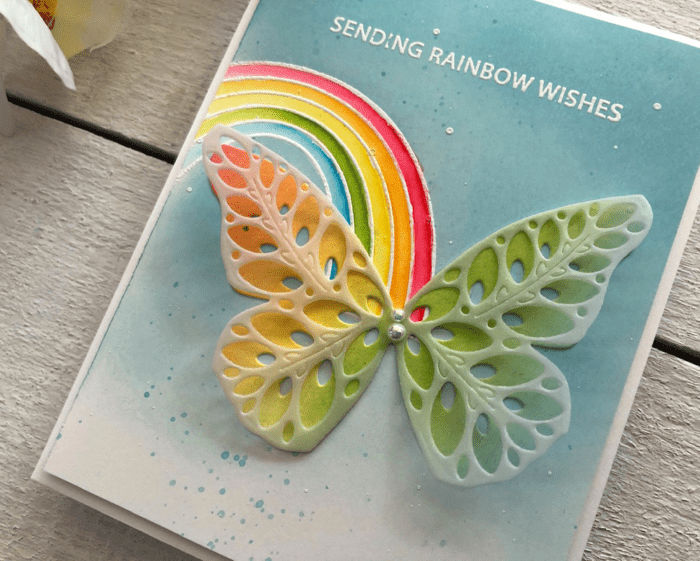
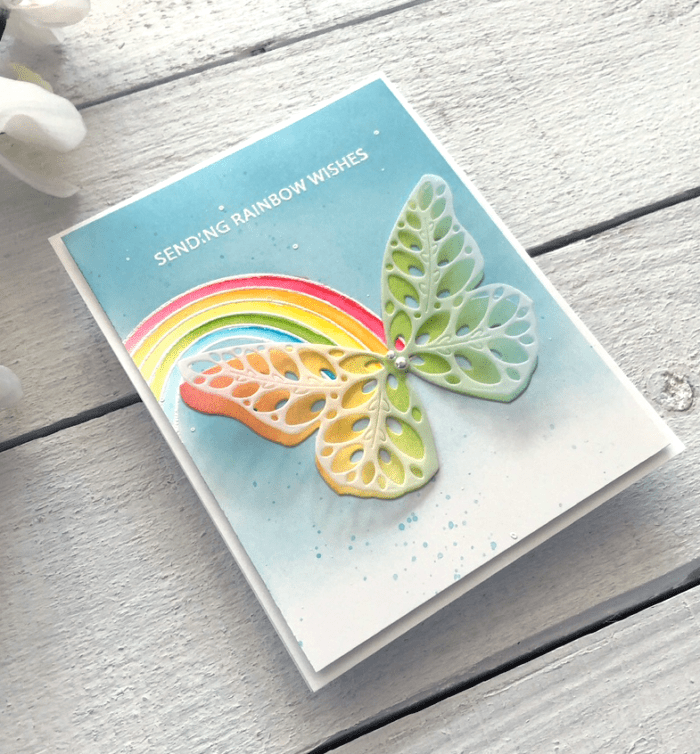
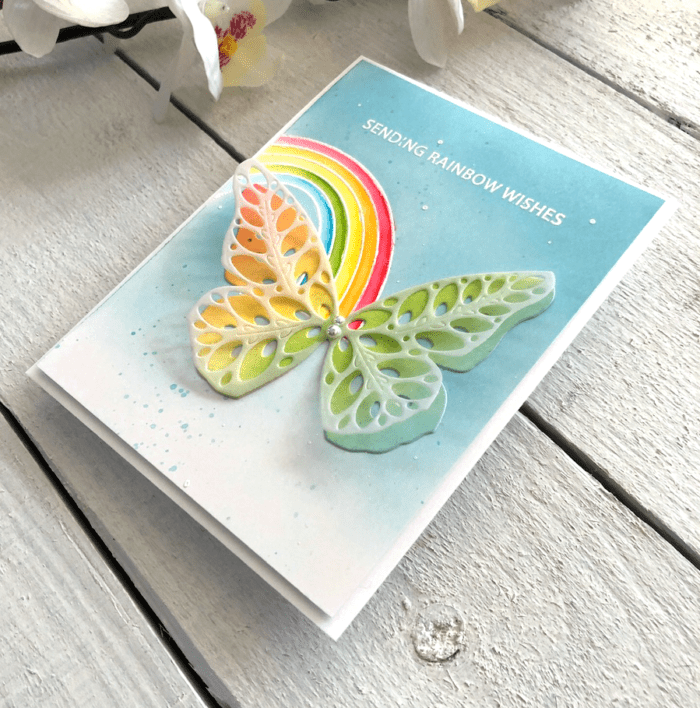
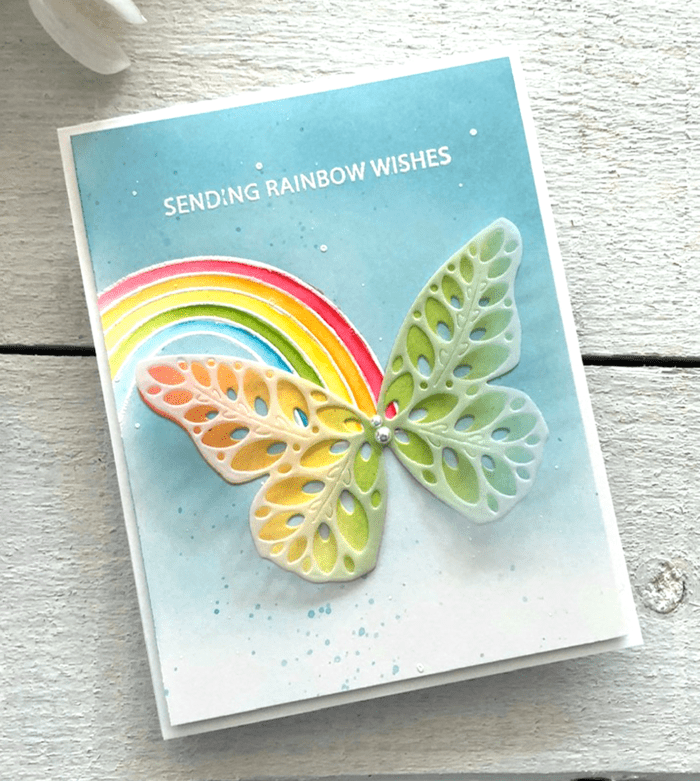
Rainbow Butterfly

Hi there and Happy Mother's Day to all the mother's visiting here today. I am on the Birch Press Designs blog today sharing a project using a couple of newly released products from Birch Press Design!


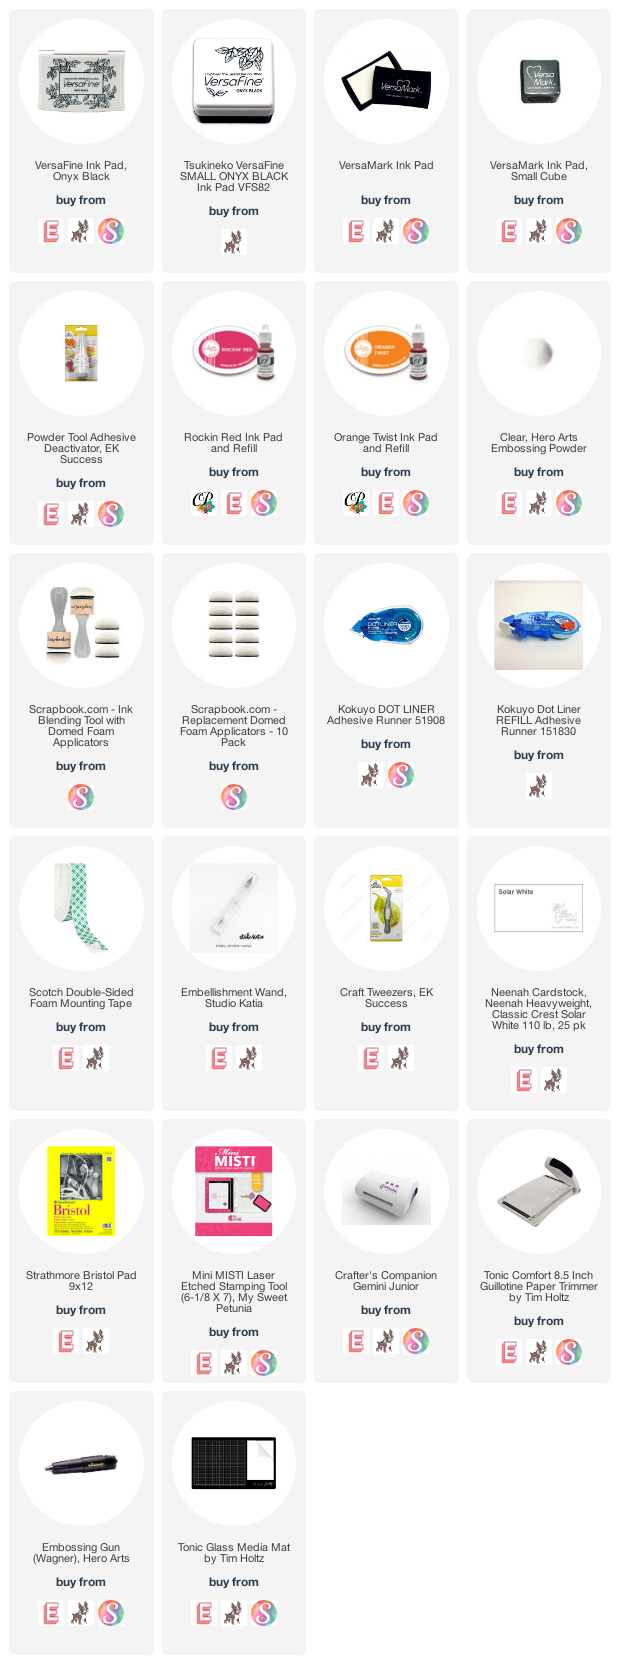
The new Rainbow Days Lingo Notes stamp set was starting point for my card. I stamped the rainbow off the card on the left side with embossing ink and white heat embossed it.

I stamped the rainbow on to a full adhesive Post-it Note and trimmed it use as a mask. I masked off the rainbow and then ink blended a sky with Broken China and Tumbled Glass Distress Oxide inks. Once the blend was done I splattered some diluted white acrylic paint on to the panel. When that was dry I smooshed some Broken China Distress Oxide ink on to an acrylic block with a bit of water and then splattered that on to the panel.

Once the mask was removed I coloured the bands of the rainbow using my ZIG Clean Color Real Brush watercolor markers blending the colours out with a water brush and set aside to dry.

I blended a panel of Bristol Smooth cardstock about the size of the butterfly in the Eloquent Butterly Layer die set. I blended on an angle a rainbow of Festive Berries, Spiced Marmalade, Wild Honey, Mowed Lawn and Tumbled Glass Distress Oxide inks. I cut Layer A of the Eloquent Butterfly from Vellum. Layer A has beautiful embossed details on it that look stunning on the vellum. It was glued to the centre of the Layer C ink blended butterfly and set aside.

Now that all the pieces were completed I white embossed a sentiment from the Rainbow Days Lingo Notes stamp set on the top centre of the sky. Then the butterfly was attached to the end of the rainbow on a slight angle.

The panel was attached to a white top folding card base with foam tape for some life and the final touch was to add to pearls to the body of the butterfly.

This was such a fun card to make, a few different techniques with such a pretty end result.

Enjoy the rest of your weekend!


May 7, 2021

Making Multiples

Happy Friday!


I have been playing with the Concord & 9th Triple-Step Blooming Hearts stamps and dies. There are so many things you can do with this set. You can work just with the stamps, or just with the dies or you can put them together like I did for my cards today. I was inspired by my friend Kim Heggins, Cupcakes Cards and Kim, to use up some the patterned paper that I have been  hoarding for a long time and stamp up a bunch of cards. Two of my cards have already gone out in the mail to my mother and my mother-in-law. 

This first card was made with Lawn Fawn inks--Fake Tan, Sunflower and Cilantro. Love these vibrant colours.


I switched to Catherine Pooler inks for the next card. I used Lime Rickey, Cummerbund and Serenade.


For the next card I use inks from Concord & 9th in Grapefruit, Aqua Sky and Sprout.


The last card is also Concord & 9th, Honeysuckle, Buttercup and Parsley.


May 1, 2021

Color Hues #17 - Guest Design

Happy Saturday, I  hope the sun is shining were you are!
Excited today to be guesting at the Color Hues Coloring Challenge #17!


 These colours are traditionally bright and bold but you are welcome to use any hues of these colours on your card that you like. I chose to go bright and bold for my card and created a background using the graphic stencils from the April My Monthly Hero Kit. I used Catherine Pooler Inks in Rocket Red and Orange Twist with black as a neutral colour.

The first layer was done using blended using Rocket Red ink on to a white background. Then I cleaned off the stencil turned it a quarter turn to the left and created my second layer with Orange Twist ink. I trimmed the panel down to 5 1/4" x 4" and mounted it with foam tape to a white top folding card base.


The sentiment is from the kit and it was white embossed on black cardstock. Then I stamped and clear embossed three dragonflies, also from the kit, with VersaFine Onyx Black ink on to vellum. The dragonflies were die cut with the coordinating dies.


To finish out the card I added the sentiment with foam tape and then I cut a thin strips of foam tape and added those to the back of the body of each dragonfly.


Now it's your turn!
What are you going to do with these colours?
I can't wait to see your work in the gallery.

Thanks for stopping in today and have a wonderful weekend!