March 29, 2021

Spread Kindness this Easter


Time is zooming along again and here it is Easter! I have a fun slimline Easter card on the Birch Press Design blog to share today using some fun new products.


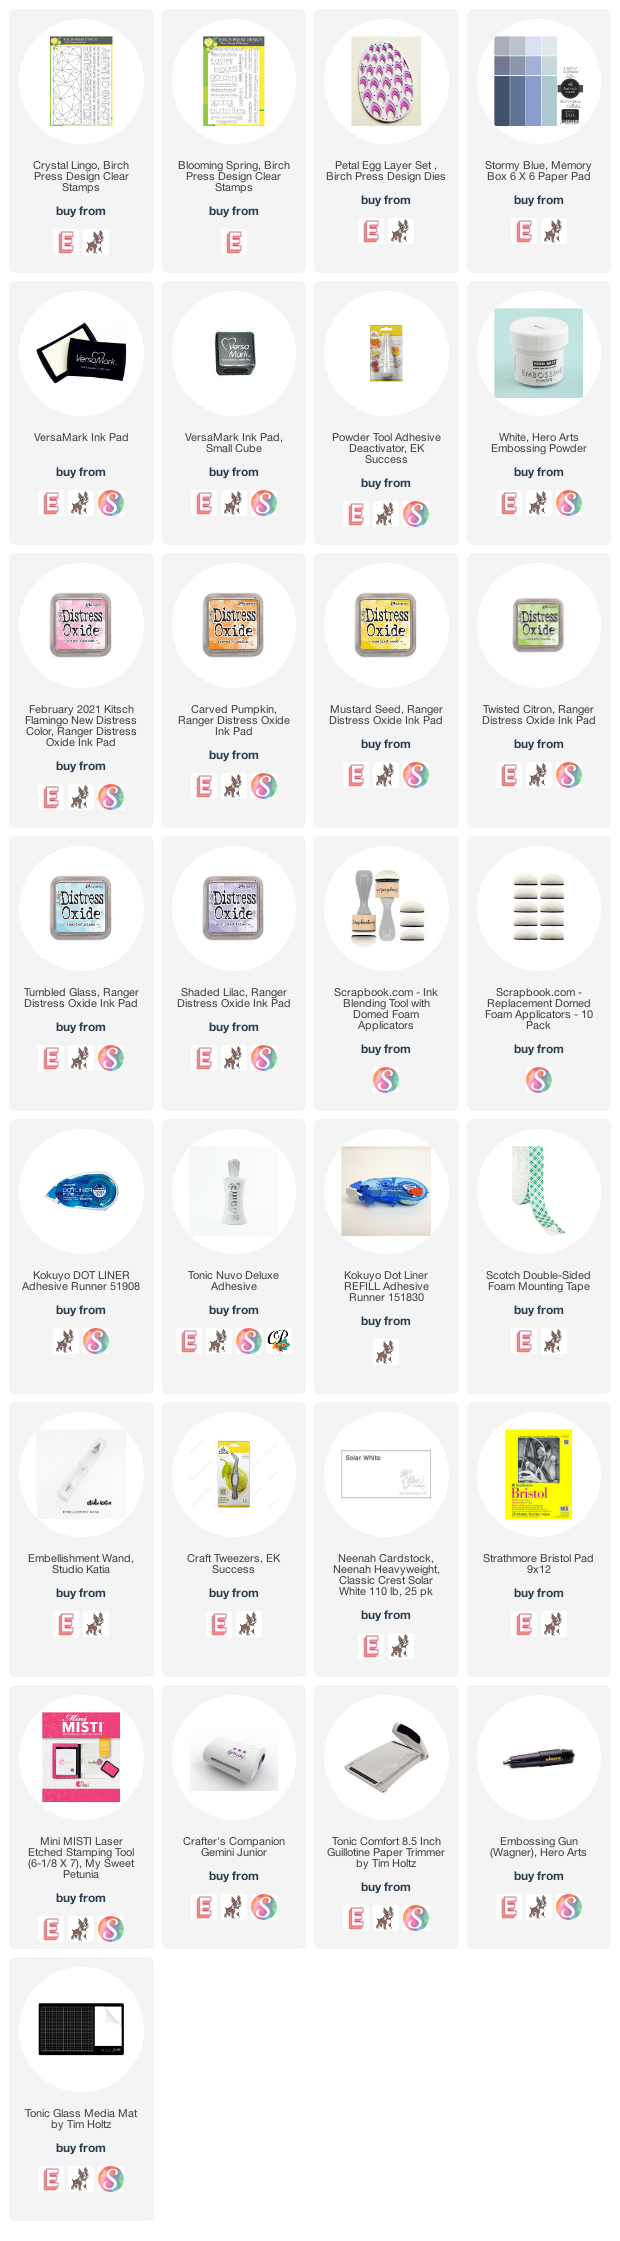
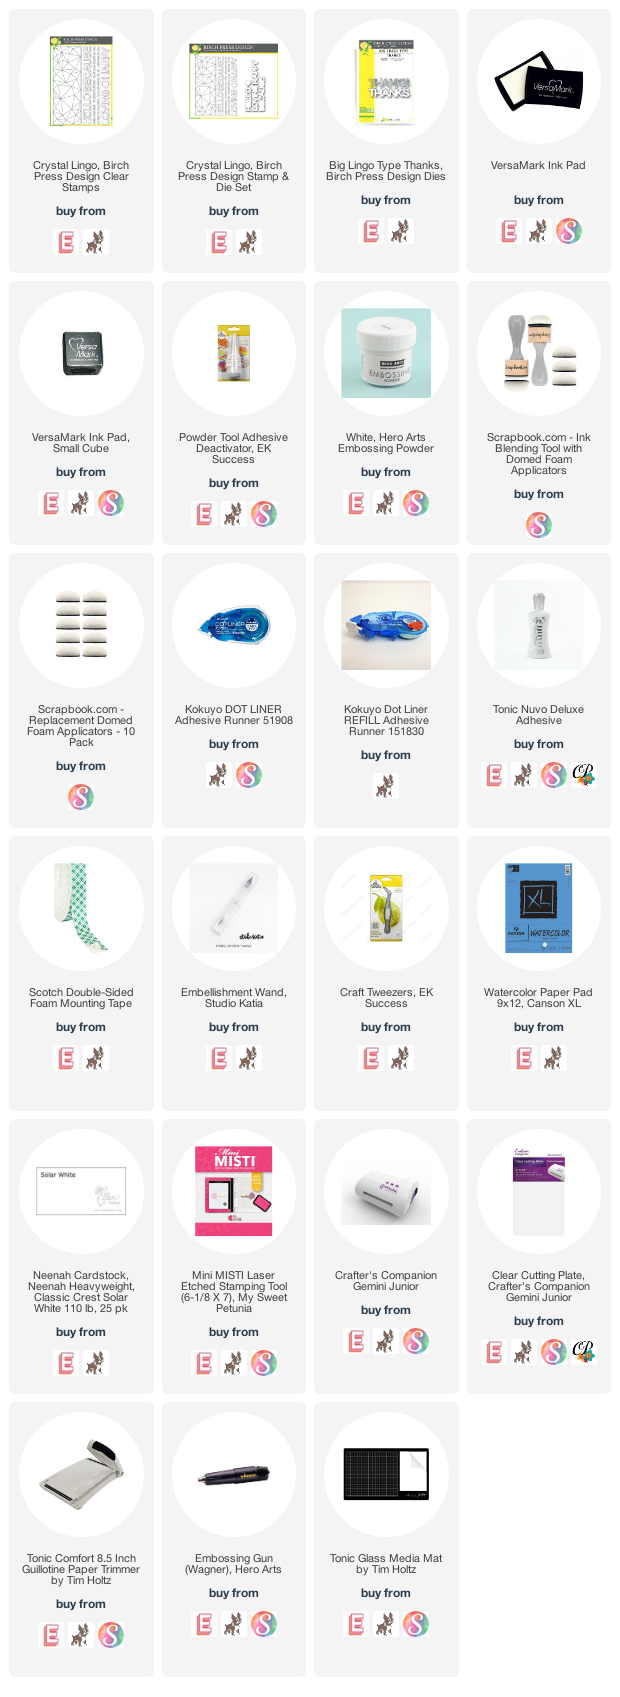
The faceted rectangle from the Crystal Lingo stamp set was white heat embossed on to a 8 1/2" x 3 1/2" panel of Bristol Smooth cardstock. I ink blended over the panel in a rainbow using Distress Oxide inks. The colours are Kitsch Flamingo, Carved Pumpkin, and Twisted Citron Distress Oxide inks and Mustard Seed, Tumbled Glass and Shaded Lilac Distress ink.


The panel was trimmed down to 8 1/4" x 3 1/4" and it was attached to an 8 1/2" x 3 1/2" white card base with foam tape to add a bit of dimension.


I wanted to use the pretty background along with the Petal Layers die set in a way that one wouldn't overpower the other. I cut all three layers from heavyweight white cardstock. I adhered the layers together with liquid adhesive and once dry. 


I decided to use pinks and oranges as my egg colour from the background. You can place your egg anywhere on the card depending on the colours that appeal to you or your recipient.  I chose to place the dimensional egg on a angle. I placed small pieces of foam tape behind the egg to pop it off the  background.

The sentiment from the Blooming Spring clear stamp set was heat embossed and trimmed down and added to he panel with foam tape.


I love the idea of sending someone a landscape, slimline card. So easy to be displayed without tipping over.

Thanks so much for stopping in today!


March 25, 2021

Do the Slimline with Crystal Lingo

 Happy Spring crafty friends! The snow has been melting here and we are seeing signs of an early spring. Fingers crossed!

Today I'm up on the Birch Press Design blog with creating two slimline cards using the Crystal Lingo Stamps EH|SSS.

The faceted rectangle stamp in the Crystal Lingo clear stamp set is the perfect size for 8 1/2" x 3 1/2" slimline cards.


For both of the my cards today I started off by white heat embossing the faceted rectangle from Crystal Lingo on to two panels of watercolour cardstock cut to 8 1/2" x 3 1/2".


I laid down a combination of Distress Ink and Distress Oxide inks on to my craft mat in a staggered rainbow. I used my new favourite colour Kitsch Flamingo EH|SSS, Carved Pumpkin, and Twisted Citron Distress Oxide inks and Mustard Seed, Tumbled Glass and Shaded Lilac Distress ink.

I spritzed some water onto the mat and then put my panel facedown into the ink and picked it up right away. I did not smoosh the ink, just straight on and off. I dried the panel thoroughly and then went back to the mat and tapped the panel around putting on a second layer. I spritzed a bit of water on my panel where the Distress Inks were to disperse them a bit more.

Once again I dried the panel thoroughly and went back to the mat one more time but before tapping down I spritzed the craft mat a bit more to reactivate the ink and did one final layer by tapping the panel on the craft mat. I stamped and die cut the Big Lingo Type Thanks EH|SSS in white and black and attached it to the card with foam adhesive!

The second panel was actually the first panel but a little bit of Frayed Burlap was all it took to muddy up my rainbow.


Rather than toss it away I kind of liked the masculine vibe that the brown gave to the card. So I did the same as I did for the other card.

I dried it and added more ink until I had three layers! I die cut the Big Lingo Type Thanks using only the detailed die three times for the sentiment. I adhered the three layers together to give the die cut some stability. Trust me this takes some patience--lol! I adhered the die cut directly to the card front.

It's so much fun to take an image like this, emboss it and then have some fun with your inks. This technique can be done with most inks and of course a little bit of water.

Thanks so much for joining me today and we'll see you next time!

March 12, 2021

Shoot for the Moon


Happy Friday friends! I am so excited to share with you a card I made with the  Penguin Palace Stencils 360°™ tool. This is a new tool to me but I tell you it's a game changer with stenciling! I will be talking more about how to use it in the future but, I couldn't wait to show you the card I created with my first run using it!

I started with the Penguin Palace Floral Wreath stencil along with two new Catherine Pooler inks--Pucker Up and Serenade! Sentiment in the middle is from the Penguin Palace Words From the Heart (Chapter 1) stamp set.

I used the Stencils 360°™ in 22.5 degree intervals using only two colours of ink to easily create my wreath just by turning my stencil inside the Stencils 360°™. The options are endless with this game changing tool. It allows you to make new patterns with stencils and also to easily mask your stencils when you're using multiple colours! 


Thanks so much for stopping in today and keep an eye out for a video using the Penguin Palace Stencils 360°™ tool.

Have a great weekend!