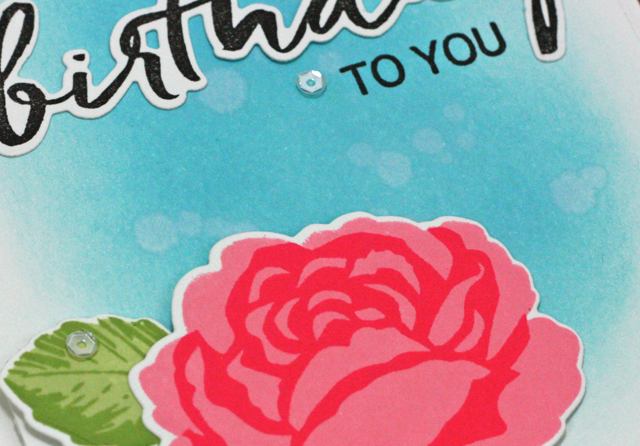
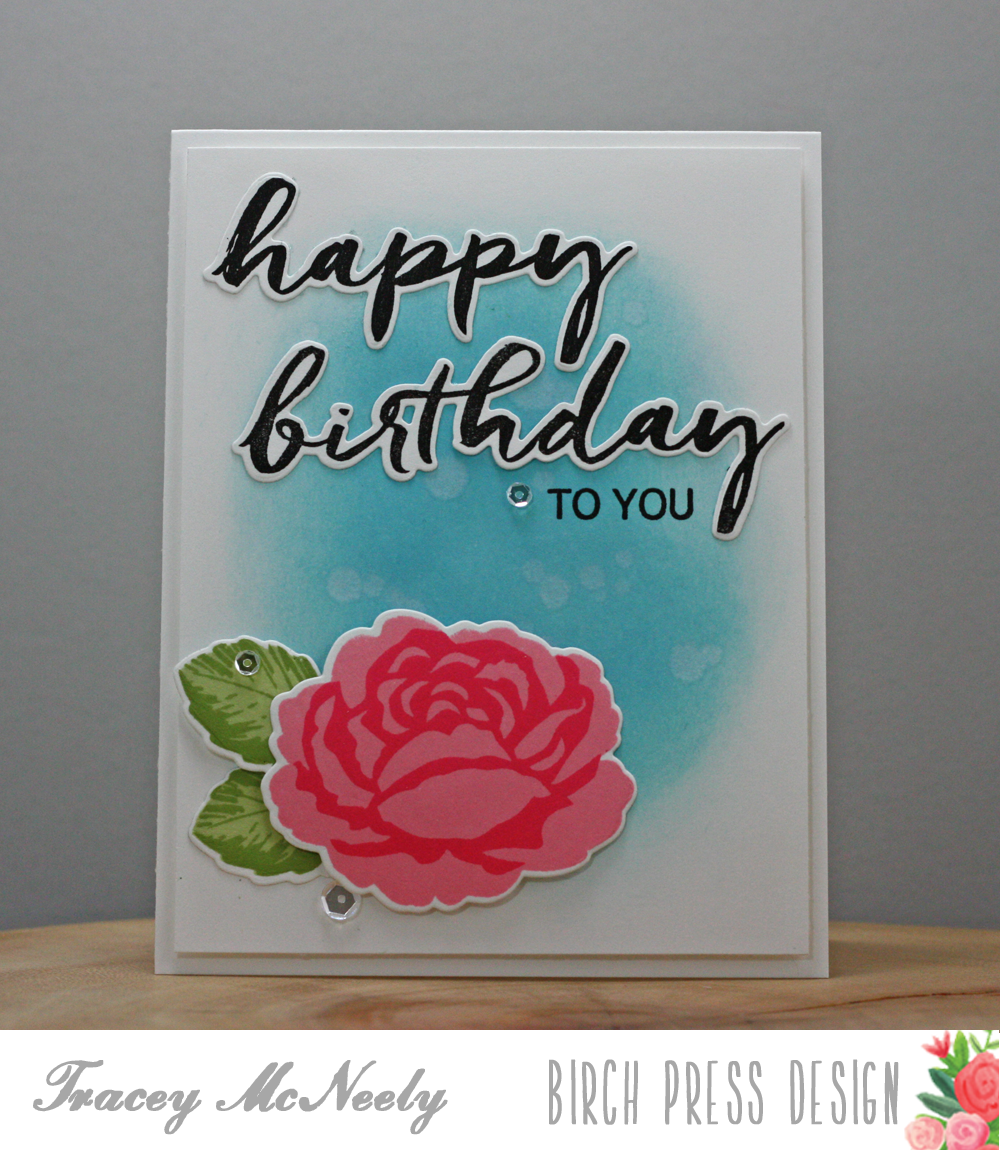
Another look at a new stamp and die set from the Birch Press Design store. There are so many stamps and dies that are perfect for holiday crafting but also for everyday crafting. The Brushed Birthday Greetings stamp set is one set that can be used all year round and perfect that there is a set of co-ordinating dies also available. The large rose image is a 2-step image that gives the bloom depth and dimension.
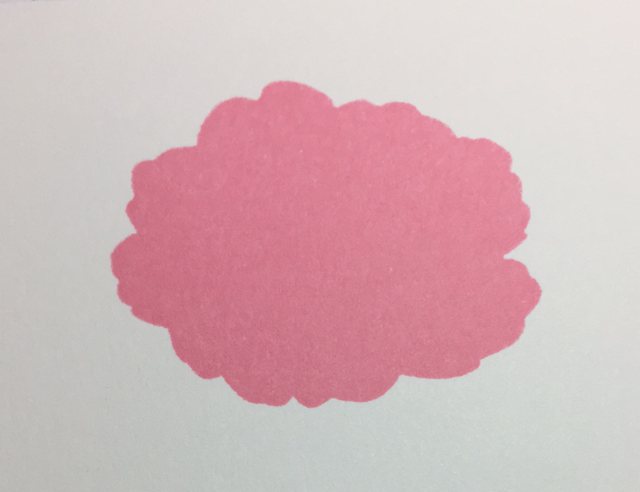
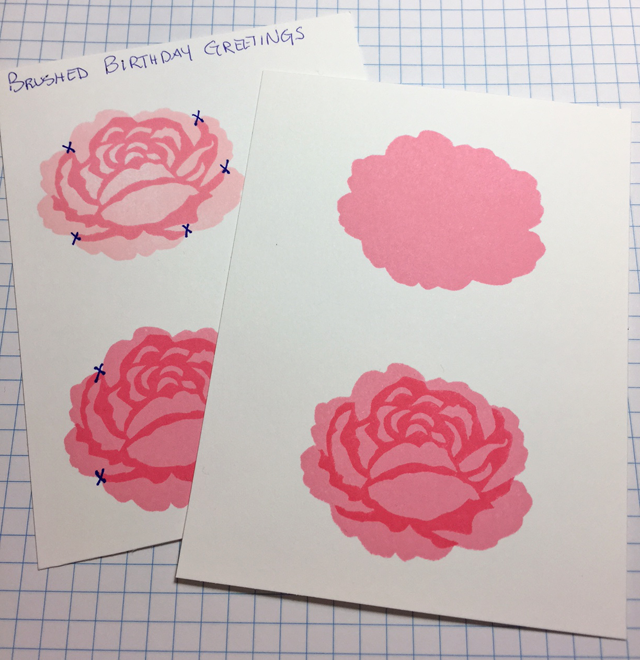
To recreate this card the first thing you will need to do is orient yourself with the two layers and how to position the top detail layer correctly. Start by choosing two ink colors and stamp the base flower in the lighter of the two shades as seen in the image below.
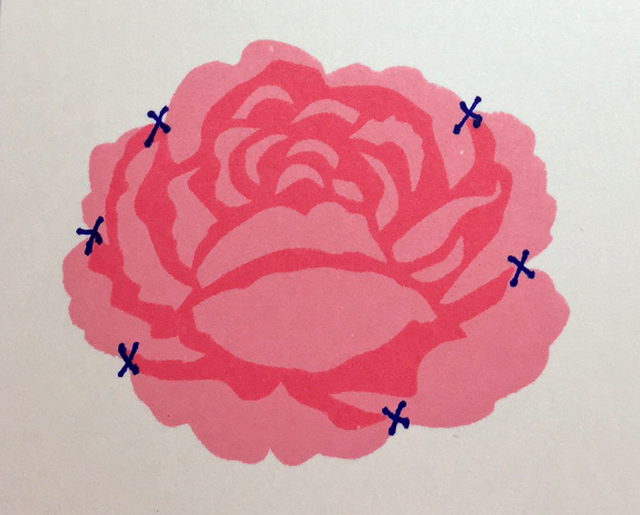
The following image shows the five points you will want to line up to add the detail layer in the darker of the two inks. Once you line the stamp up you will get a perfect placement each time.
The layered leaves are easy to line up as the base images and the detail layer are basically the same shape. Line the detail layer up at the top of the stem where it meets the leaf. Next stamp and die cut the 'Happy' and 'Birthday' sentiments. All the dies are open window dies which makes die cutting easy as you just place the dies over the images. Secure the dies with some low tac tape and run it through your die cutting machine.
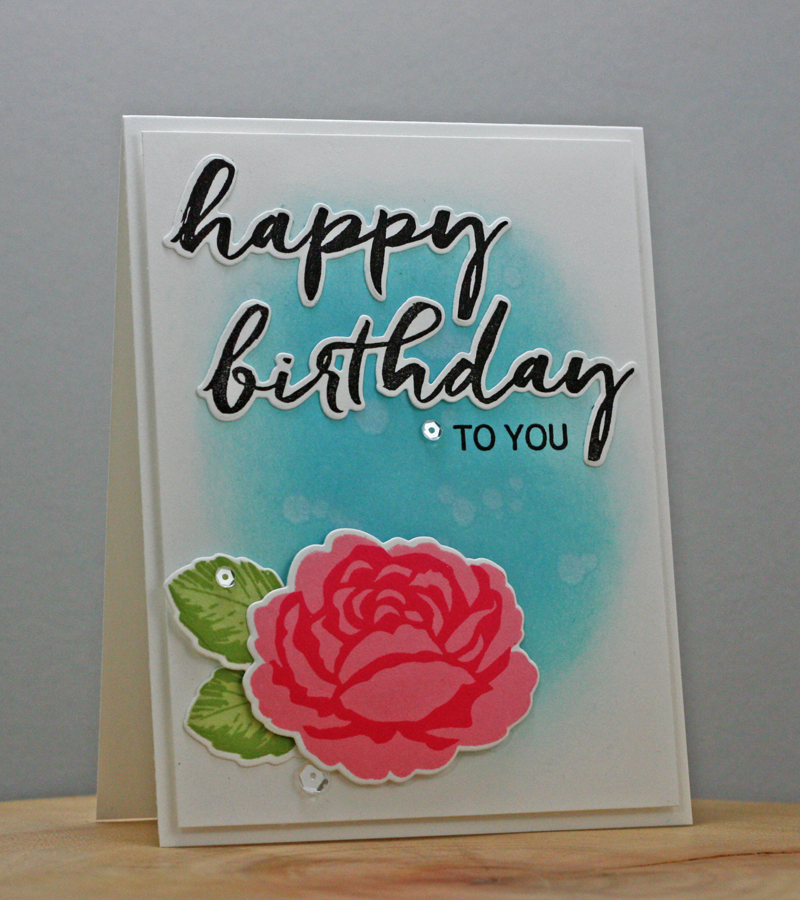
The background panel was watercolored on watercolor paper with Distress Ink. Adhere the sentiments to the panel and then stamp the 'TO YOU' directly onto the panel nestled into the sentiment. The flower is adhered with double sided adhesive foam tape. Add some adhesive to the backs of the leaves and tuck them in behind the flowers. The completed watercolor panel was adhered to the card base with more double sided adhesive foam tape for added dimension. Finish the scene off by adding a few carefully placed clear sequins.
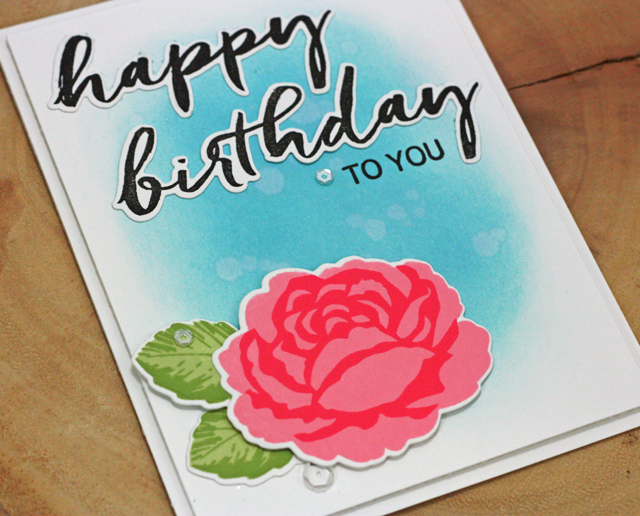
It is easy to create a beautiful card with just this one stamp and die set.
Thanks for joining us again this week! We hope to see you again next Tuesday for more crafting inspiration!


Gorgeous!
ReplyDeleteReally lovely, Tracey! Your blue background sets a beautiful stage for those gorgeous words ... love that font! and pretty little rose...
ReplyDelete=]
Oh its just gorgeous Tracey! What a fun stamp set to use!
ReplyDeleteAbsolutely stunning, Tracey.
ReplyDeleteYou've showcased the layered rose and and pretty-font sentiment beautifully! The blue background certainly makes the bloom pop!
ReplyDeleteHugs~c
Oh, this is lovely Tracey! The blue color wash in the background lets the pretty rose pop beautifully!
ReplyDeleteBeautiful rose, Tracey! Thanks for the "line-up" tip!
ReplyDeleteGorgeous birthday card, Tracey! Love your pink tone-on-tone stamping on the rose, and your watercolored background is just beautiful! Thanks for the tutorial for stamping the bloom and leaves!
ReplyDeleteLovely multi step stamping, and the blue blur really gives a nice pop to your beautiful pink bloom.
ReplyDeleteThis is STUNNING!! I Love the colors that you used and the background makes that flower POP!
ReplyDelete